
Walnut and Copper Sideboard Project Overview
This captivating woodworking project showcases the creation of an exquisite sideboard that masterfully combines the rich, warm tones of walnut wood with the elegant gleam of copper accents. The design goes beyond the ordinary, incorporating numerous thoughtful details that elevate it to a true statement piece for any living space. Woodworkers embarking on this build will discover a wealth of techniques and features that add both functionality and visual appeal, making it far more than a simple storage unit.
The sideboard’s construction highlights the natural beauty of high-quality walnut, selected for its exceptional grain patterns and durability. Copper elements are strategically integrated, providing a modern metallic contrast that enhances the overall aesthetic. This fusion of materials not only creates a striking visual harmony but also ensures the piece stands out in contemporary or traditional interiors alike. Builders will appreciate how these choices contribute to a timeless yet innovative furniture design.
Key Materials and Tools Utilized
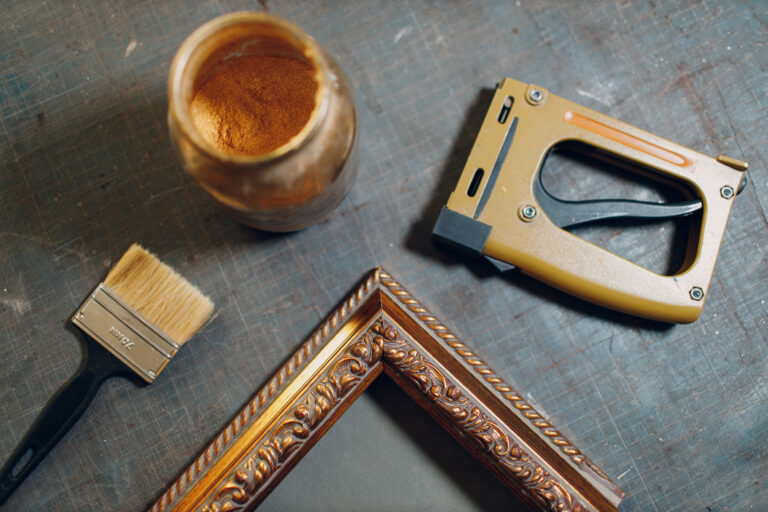
A variety of premium materials and specialized tools were employed to bring this sideboard to life. The primary wood choice, walnut, offers superior strength and a luxurious finish that responds beautifully to various surface treatments. Copper components, including custom-fabricated hardware and decorative inlays, introduce conductivity and patina potential over time, adding character as the piece ages gracefully.
- High-grade walnut lumber for the main body, legs, and panels, chosen for consistent grain matching across visible surfaces.
- Copper sheets and tubing for accents, pulls, and structural reinforcements, offering malleability for intricate shaping.
- Specialized finishes to protect and enhance the wood’s natural luster while preventing tarnish on metal parts.
Among the tools, precision routers, die grinders, and dovetail jigs played crucial roles. For instance, carbide burrs and core box bits allowed for detailed carving and shaping of contours, while ups spiral bits ensured clean, tear-out-free cuts in the dense walnut. Sanding blocks and scrapers refined surfaces to a mirror-like smoothness, preparing them for final assembly and finishing.
Detailed Construction Process
The build process begins with meticulous preparation of the walnut stock. Boards are carefully jointed, planed, and glued into panels, with special attention paid to grain orientation for seamless alignment. Legs and rails are crafted next, incorporating tapered profiles that lend an air of sophistication. These elements are connected using robust joinery methods, such as through-dovetails and floating tenons, ensuring long-term stability under everyday use.
Cabinetry components follow, including doors and drawers fitted with innovative copper-integrated hardware. Vacuum pressing techniques are applied for flawless veneer application on certain panels, creating a balanced mix of solid wood and layered constructions. Copper accents are formed using die grinders for custom profiles, then patina-treated to achieve the desired antique finish before installation.
- Grain matching across all exposed surfaces to create a unified appearance.
- Precision tapering of legs using dedicated hardware kits for consistent results.
- Hand-sculpted copper elements shaped with rotary tools for organic, flowing designs.
- Extended open-time adhesives for complex glue-ups involving multiple components.
Assembly demands exactness, with dry-fits verifying alignments before permanent bonding. Drawers are constructed with side-mounted slides and dovetailed fronts, while doors feature concealed hinges for smooth operation. Final detailing includes cove profiling on edges and countersinking for flush hardware installation.
Surface Preparation and Finishing Techniques
Achieving the sideboard’s luxurious finish requires a multi-stage approach. Initial sanding progresses from coarse to ultra-fine grits, eliminating mill marks and preparing the surface for scraping. Card scrapers and specialized sanding blocks remove any remaining imperfections, yielding a glass-smooth foundation. Copper surfaces undergo polishing and selective patination to contrast beautifully with the wood.
The finishing schedule employs durable, low-VOC products tailored for furniture. Multiple thin coats are applied, with sanding between layers to build depth and evenness. This method enhances the walnut’s chatoyancy, making the grain pop under light, while protecting against moisture and wear. Copper elements receive protective lacquers to maintain their sheen without inhibiting natural aging.
Design Features That Set It Apart
What truly distinguishes this sideboard are the abundance of extra details that reflect masterful craftsmanship. Beyond basic storage, it includes integrated pull-out trays, adjustable shelving, and hidden compartments for versatility. Copper inlays trace the grain lines on drawer fronts, creating a bespoke, artisanal touch. The tapered legs feature subtle brass ferrules at the feet, preventing floor scratches while adding refinement.
- Intricate copper wire pulls hand-forged for ergonomic comfort and visual interest.
- Soft-close mechanisms on all drawers and doors for silent, premium operation.
- Custom-fit back panel with floating construction to accommodate wood movement.
- Reinforced corners with mitered copper banding for enhanced durability.
These elements collectively transform the sideboard from functional furniture into a heirloom-quality centerpiece. Dimensions are optimized for standard spaces, with ample interior storage for serveware, linens, and decor items. The design’s scalability allows woodworkers to adapt proportions for different room sizes or personal preferences.
Practical Tips for Replicating the Build
For those inspired to recreate this project, starting with accurate plans is essential. Cut lists provide imperial and metric measurements, detailing every component with allowances for tolerances. Source walnut from reputable suppliers to ensure figure quality, and practice on scrap for copper fabrication techniques. Attention to joinery layout prevents common pitfalls like misalignment during glue-up.
Safety remains paramount: use dust extraction with all power tools, wear respirators during finishing, and secure workpieces firmly. Invest in quality marking tools like white pencils for visibility on dark woods. Allow sufficient drying time between finish coats to avoid adhesion issues. Final inspection should check squareness, levelness, and smooth drawer action before declaring completion.
Placement and Styling Suggestions
This sideboard shines in dining rooms, entryways, or living areas, where its dimensions provide generous display space atop and within. Pair it with minimalist decor to let the materials speak, or layer with textiles and ceramics for warmth. Lighting positioned to highlight the copper patina and walnut depth will accentuate its features, making it a focal point that draws admiration from guests.
Maintenance involves occasional dusting and copper polishing as needed. Avoid direct sunlight to preserve wood color, and use coasters to protect the top surface. With proper care, this piece promises decades of service, developing a personal history through its evolving patina and subtle wear patterns.