

Discovering the Intricate World of Sandpaper Production
Sandpaper production might not unfold in the manner most people imagine. Surprisingly, the process bears a striking resemblance to the steps involved in producing a magazine. Just as magazine publishing starts with selecting the appropriate paper thickness, sandpaper manufacturing begins in a similar fashion. There is the printing element, akin to the text printed on the reverse side of the sandpaper sheet. Then come the essential components: the abrasive grit and the adhesive that binds it all together, which parallel the compelling articles featured within a publication.
When a sandpaper producer selects the ideal combination of grit and adhesive, the resulting product demonstrates exceptional longevity, rapid material removal, and resistance to clogging. Conversely, opting for subpar paper, inappropriate grit, or inferior glue leads to a product that fails prematurely and ends up discarded. In the realm of magazine publishing, choosing the most engaging stories ensures that readers retain their copies for extended periods, referencing them for furniture construction projects or tool purchasing decisions. Poorly selected content, however, results in the publication being relegated to trivial uses, such as lining a birdcage or wrapping discarded fish.
During a recent visit to a production facility, we gained in-depth insights into the creation of abrasives. This particular tour occurred at Ali Industries Inc., located in Fairborn, Ohio, a company established in 1961 and renowned for producing Gator-brand sandpaper distributed through home improvement centers and hardware retailers. Note that this article originally appeared in 2009, and since that time, Ali Industries has been acquired by Rust-Oleum.
Exploring the Ali Industries plant revealed numerous unexpected elements. Having toured numerous manufacturing sites observing the assembly of items ranging from pneumatic nailers to compound miter saws and even universal electric motors, this experience stood out uniquely. The facility evoked the enchantment of illusionist performances combined with the whimsical allure of a confectionery factory.
Selecting the Foundation: The Paper

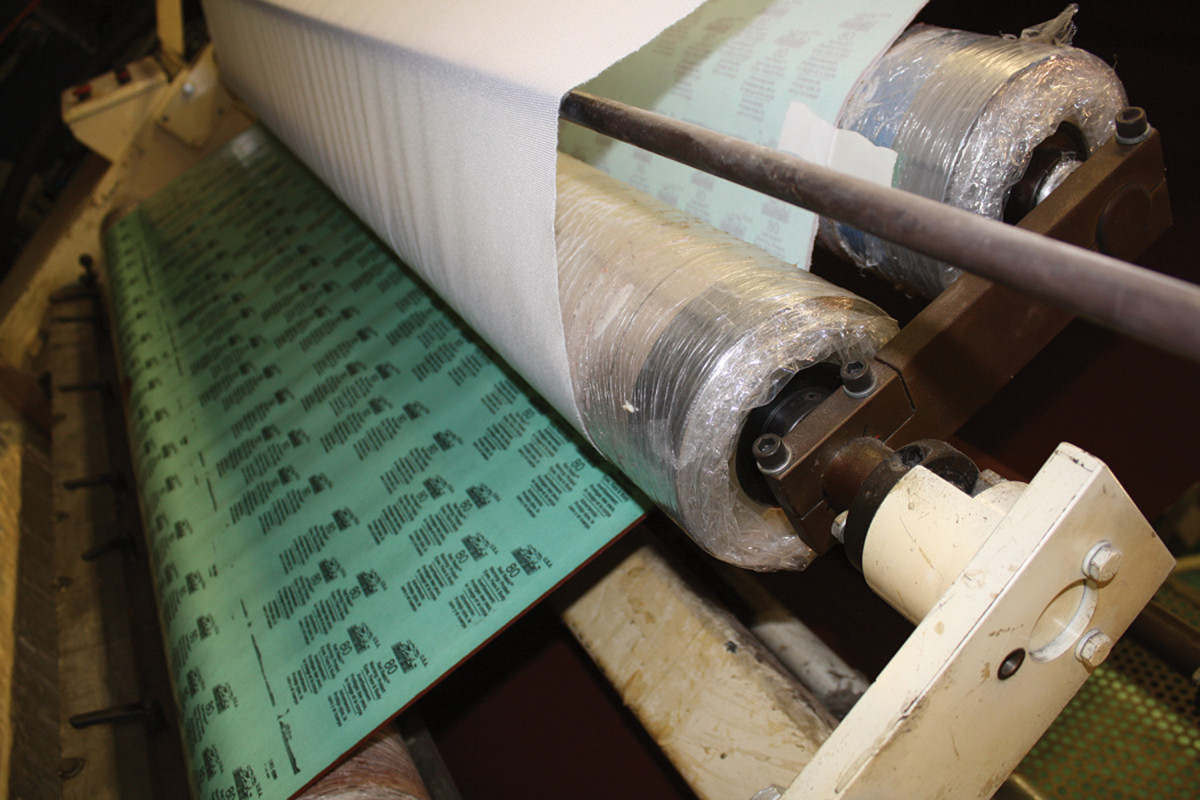
The journey commences with unrolling massive sheets of backing material. These are expansive 55-inch-wide rolls of paper fed into an industrial printing apparatus that applies the grit designation, brand identifier, and additional details onto the backside of the substrate. Sandpaper backings can utilize various weights of paper or even cloth materials. The grading system for paper thickness spans from A to F, where A represents the thinnest and most pliable option, while F denotes the thickest and most robust variety. Thinner papers offer greater flexibility, which is advantageous for conforming to curved surfaces, yet they are more susceptible to tearing during use. Thicker papers provide enhanced durability but may exhibit rigidity, influenced by the adhesive formulation and overall construction method.
At Ali Industries, the chosen backing is C-weight paper, described by Gary Carter, the senior director of sales, as a high-quality option specially treated to deliver optimal results for both manual sanding tasks and power tool applications. These rolls measure 55 inches in width and range from 180 to 500 meters in length. The process initiates with the paper unspooling from a substantial horizontal spindle, drawn forward into a sophisticated printing press. Here, critical information such as the grit size, brand markings, and other specifications are imprinted. Subsequently, the printed surface undergoes exposure to ultraviolet heat, ensuring instantaneous drying without prolonged wait times.
Applying Adhesive, Embedding Abrasives, and Initial Curing
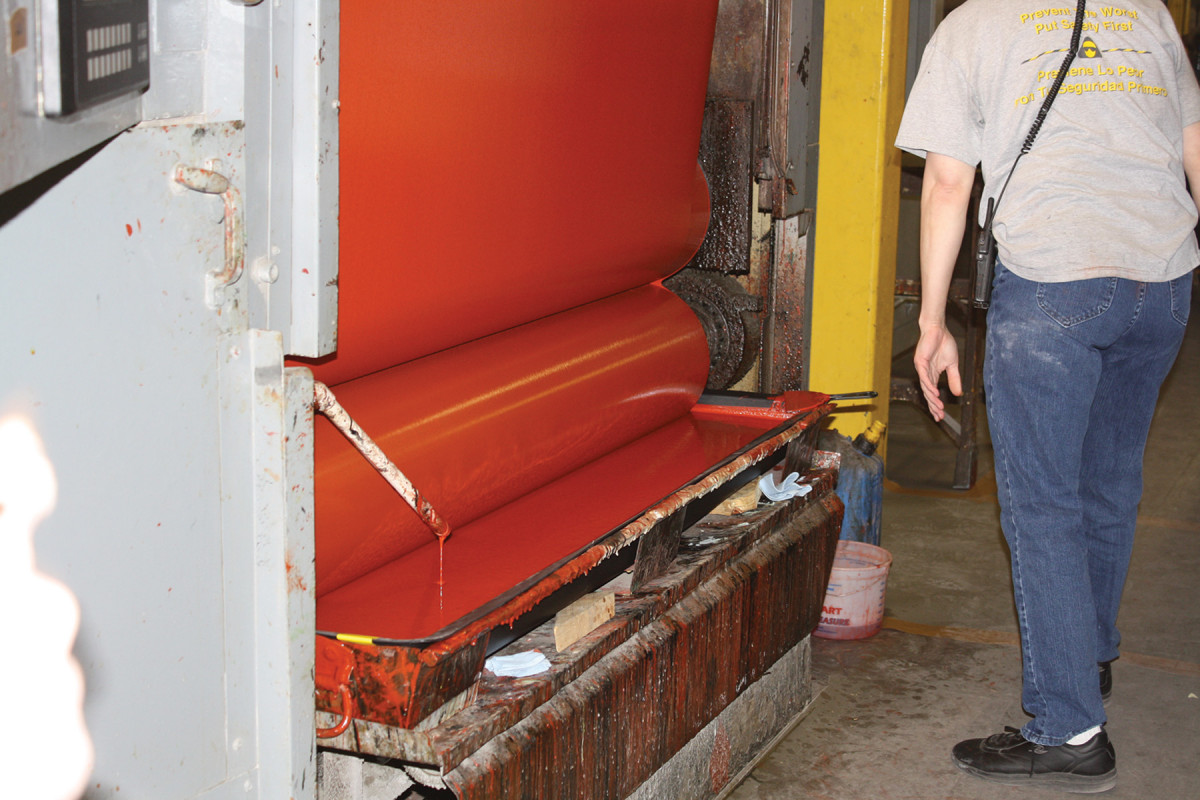
Following the printing and drying stage, the paper receives its initial application of adhesive. This can be either a phenolic resin, suited for discs and belts, or a urea-based resin preferred for sheets intended for hand sanding. Observed during the tour, the resin displayed a vivid red hue, reminiscent of the popular Plasti Dip coating applied by DIY enthusiasts to tool handles for improved grip.
The paper is guided downward into the resin bath via an enormous roller that immerses the unprinted surface before promptly rolling it upward again. Emerging coated in adhesive, the paper-like flypaper advances into an enclosed chamber where the truly remarkable phase of production takes place.
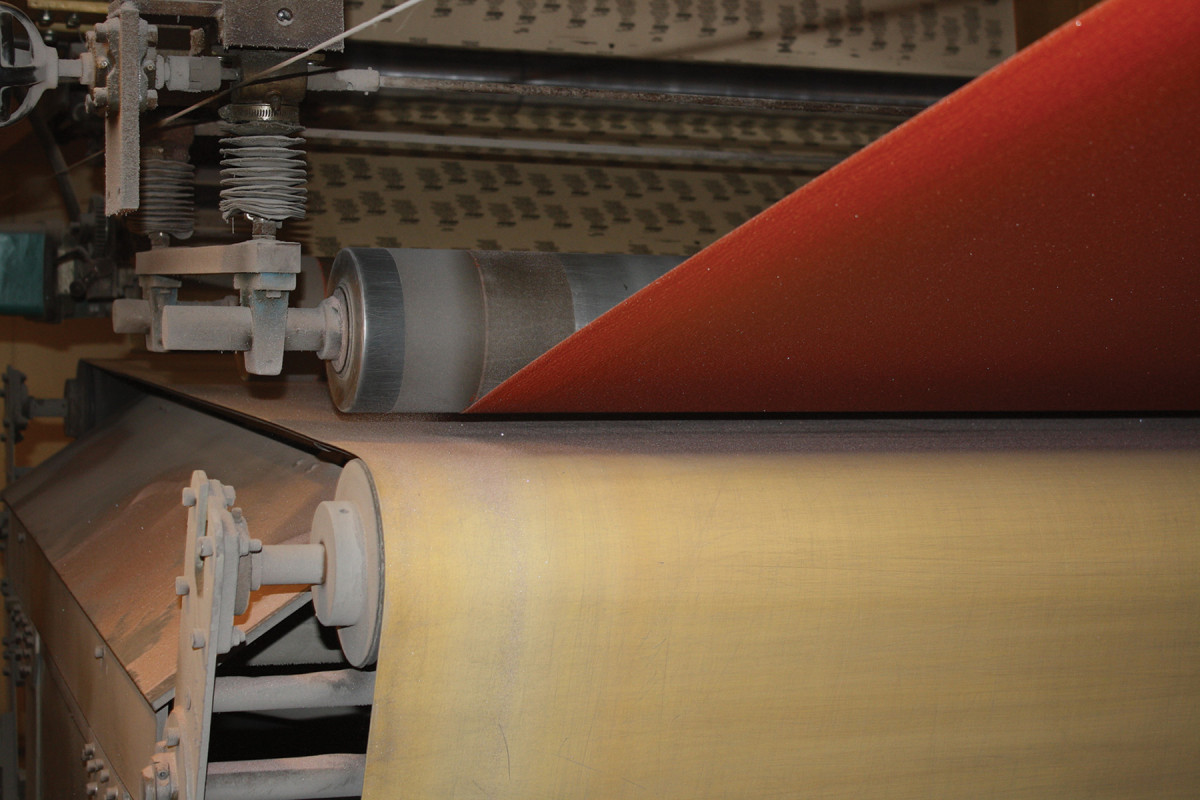
Within this compact, low-ceilinged space beneath the towering machinery, the adhesive-coated paper is positioned parallel to and approximately one inch above a moving conveyor belt. The belt transports the loose abrasive particles, which may consist of garnet, aluminum oxide, or other varieties depending on the intended grit specification.
As the conveyor progresses to a designated point, the abrasive grains receive a static electrical charge, causing them to dramatically leap upward from the belt and embed themselves firmly into the wet resin layer on the paper overhead. According to Carter, this electrostatic method serves a dual purpose: it propels the particles airborne, and it aligns each grain optimally, with the flatter base securing into the adhesive while the cutting edge protrudes outward toward the workpiece.
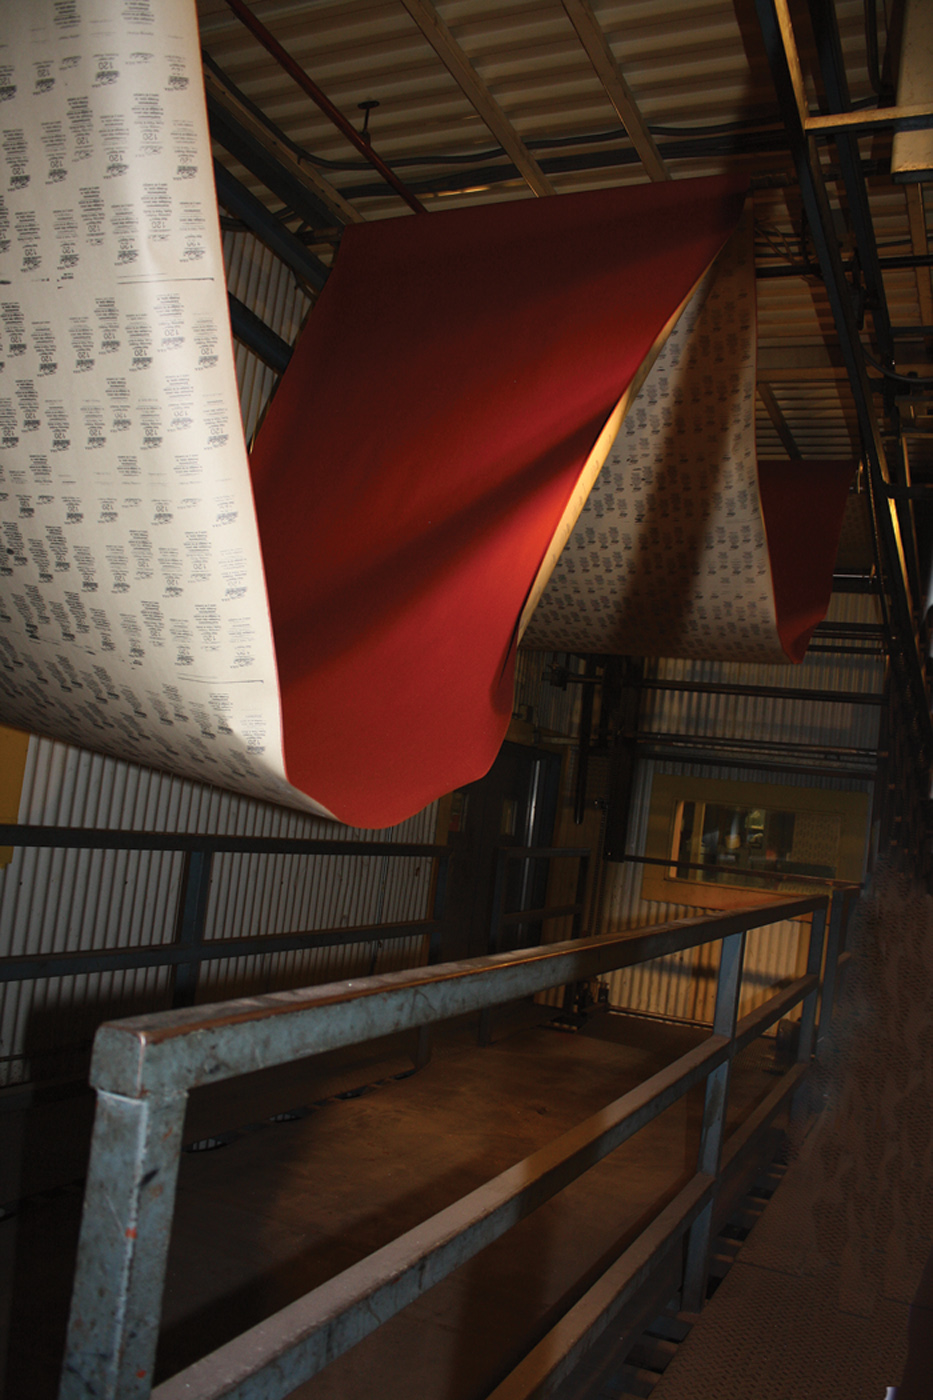
Witnessing the grit particles vaulting into the resin proves captivating, almost hypnotic. Minimal excess material falls away, and any that does is efficiently collected at the conveyor’s terminus. At this juncture, the product qualifies as true sandpaper, though the adhesive remains uncured. Consequently, the continuous web of paper enters a colossal oven resembling an oversized taffy-pulling apparatus. Mechanical arms guide the material in sweeping, undulating loops through progressively heated chambers, ensuring thorough and even curing as it travels forth and back.
Additional Adhesive Layers and Final Flexing
Once the initial resin layer has partially set, a secondary coating of adhesive is applied, bolstering the overall resilience of the product. Premium sandpaper features this dual-resin system, distinguishing it from lower-cost, single-layer alternatives. The paper then undergoes another baking cycle before being rewound into rolls. These rolls receive further heating in dedicated chambers to achieve complete resin polymerization.
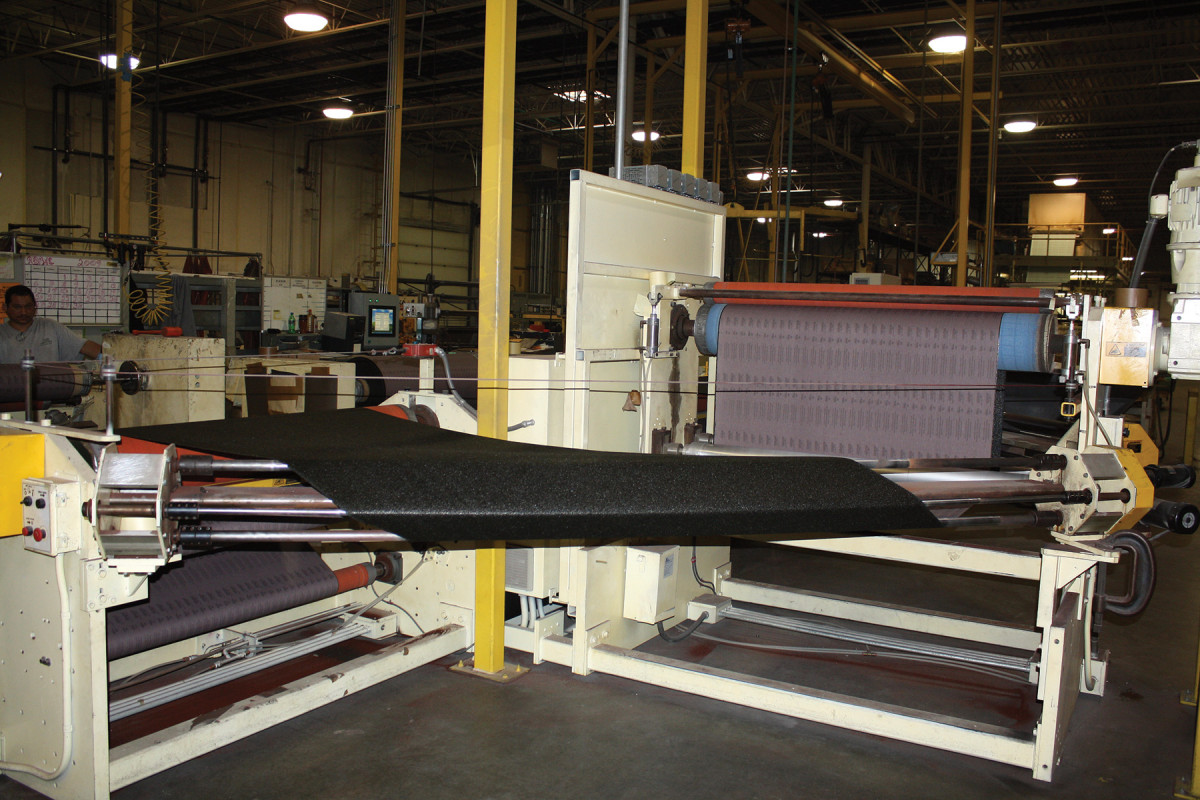
Post-curing, the sandpaper exhibits considerable stiffness, prone to cracking if sharply bent. To mitigate this, operators feed the rolls through specialized flexing machines. These devices subject the material to repeated bends, weaving it through a series of tight turns akin to ribbon manipulation, thereby enhancing its resistance to fracturing during practical use.
Diversification and Final Shaping
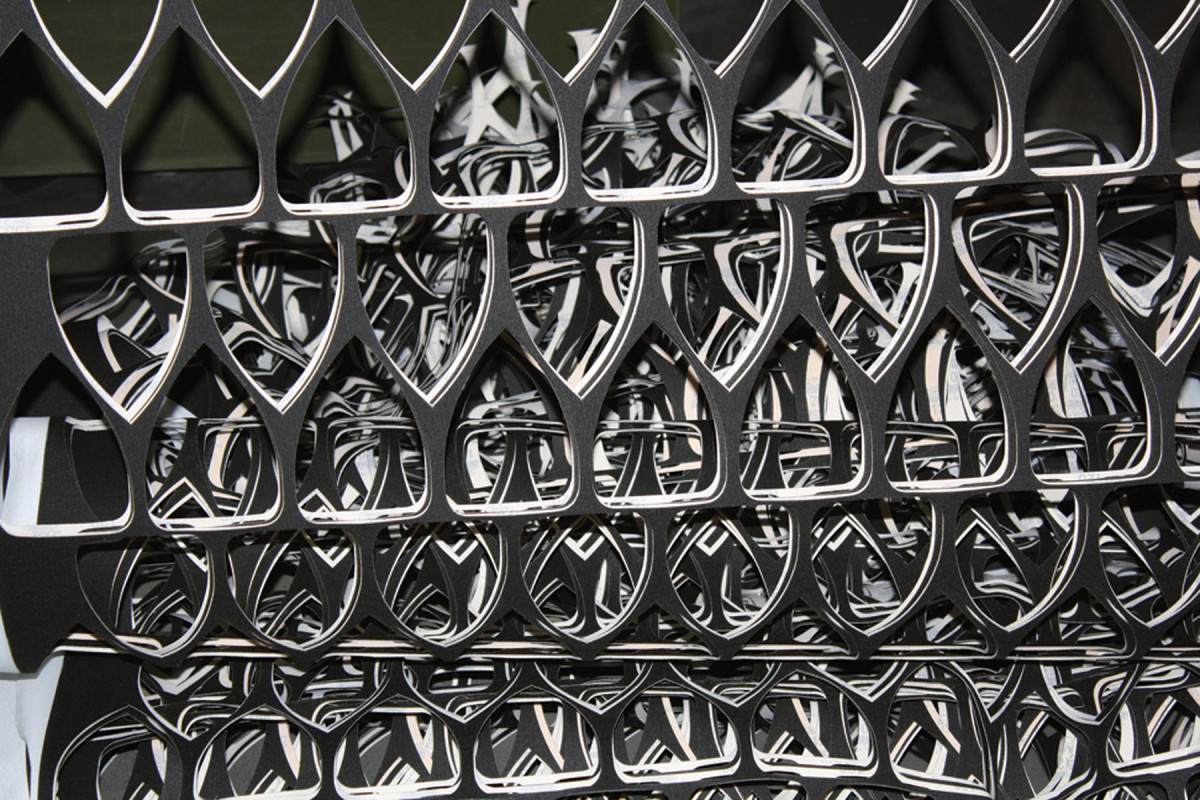
Beyond this foundational stage, the sandpaper undergoes various customizations. Workers may affix a cloth substrate to enable compatibility with hook-and-loop fastening systems on orbital sanders. Alternatively, a pressure-sensitive adhesive backing can be added for peel-and-stick applications. The true diversity emerges in the subsequent warehousing area equipped with precision die-cutting stations.
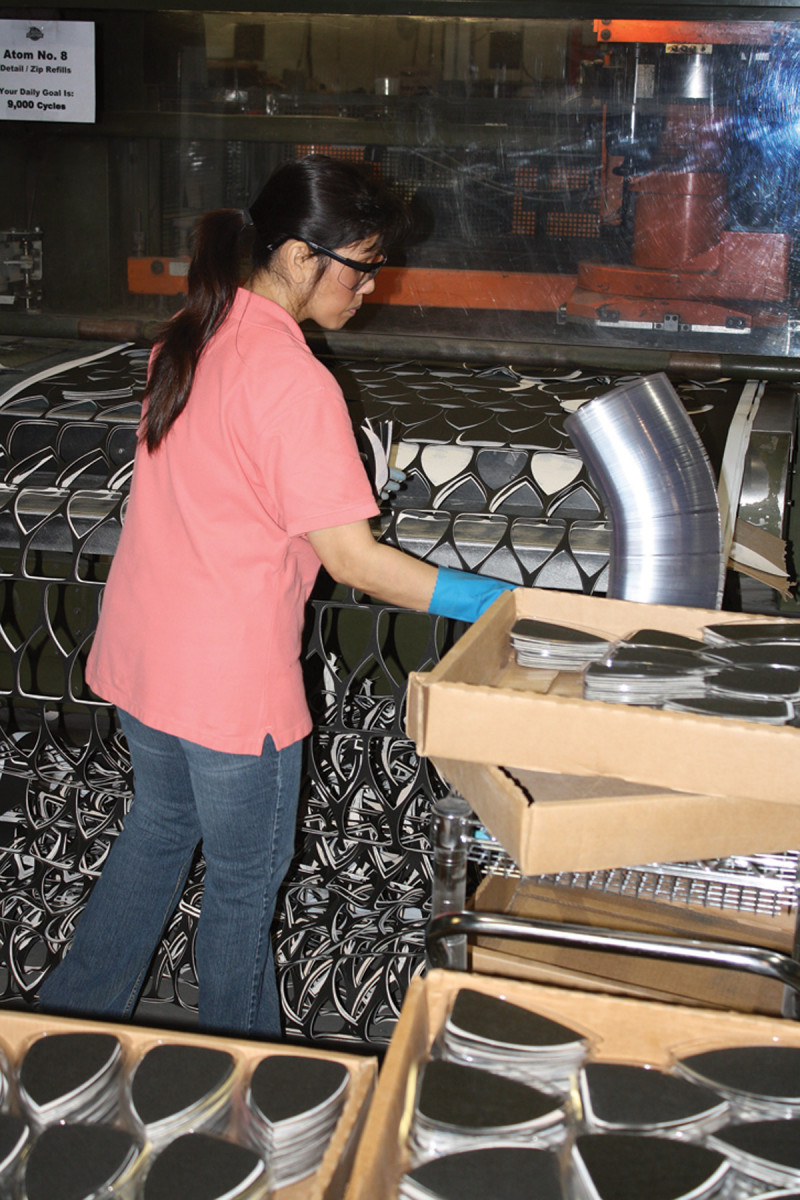
Each die-cutting unit rivals the dimensions of a compact sport utility vehicle. Multiple rolls—typically five or six—are loaded at the rear. The sheets advance into a processing chamber where automated dies precisely excise discs or custom contours tailored for specific tools, such as random-orbit sanders.
Producing sanding belts involves additional complexity. It begins with shaping paper into parallelogram forms, which are then joined end-to-end using Kevlar-reinforced tape to form seamless tubes. These tubes are subsequently precision-sliced to yield belts of exact widths.
Operators then collect the stacks of completed items, package them meticulously, and consolidate the goods into shipping boxes destined for distributors. Remarkably efficient, the entire pipeline transforms raw components into shippable products within just 10 to 14 days. Not only is the operation swift, but the final abrasives represent extraordinary value historically. Early iterations, known as glasspaper, commanded premium prices, were used judiciously due to fragility, and never discarded lightly. Today, accessible pricing ensures ample supply for all, contributing to a world of impeccably smooth surfaces.
The author, Christopher Schwarz, formerly served as editor of Popular Woodworking Magazine. He maintains an active presence through blogging and woodworking book publications via Lost Art Press. An advocate for hand tools, he also incorporates power tools into his workflow.