
A Rare Day: Preparing and Selling My Custom Woodwork
Occasionally, amidst tackling larger furniture projects, I dedicate some time to organizing my workshop and working on compact side endeavors, such as crafting cutting boards from leftover wood scraps. In this relaxed, vlog-style presentation dated June 6, 2025, I invite you to join me as I meticulously refine the outlines, smooth the surfaces through sanding, engrave the TWW logo with a laser, and coat them with a safe, food-grade finish. This process covers the complete finishing routine I follow when preparing cutting boards for the market. While it does not constitute a comprehensive tutorial on building cutting boards from scratch, it offers an exclusive glimpse into the behind-the-scenes efforts involved in readying products for sale and efficiently utilizing precious remnant materials. Additionally, expect some casual shop discussions, practical advice, and likely an appearance by one of the workshop cats.
Turning scrap wood into functional, attractive cutting boards represents an excellent method for minimizing waste in the workshop. Rather than allowing those irregular offcuts to accumulate dust in the corner, transforming them into sellable items breathes new life into the material while generating a bit of income. This approach aligns perfectly with sustainable woodworking practices, ensuring that every piece of lumber contributes meaningfully to the final output.
The journey begins with selecting suitable scraps. I prioritize pieces that are thick enough for durability—typically at least three-quarters of an inch—and free from significant defects like cracks or knots that could compromise safety or aesthetics. Exotic woods from past projects, such as walnut, cherry, or maple, often find their way into these boards, adding unique character and visual appeal that customers appreciate.
Refining Shapes and Edges for Precision
Once the blanks are chosen, the first step involves refining their shapes. Using a bandsaw or jigsaw, I trim the rough edges to create rectangular or custom contoured forms that suit the board’s intended use. Precision here is crucial; uneven edges not only look unprofessional but can also affect stability during chopping tasks. I aim for clean, straight lines, frequently checking with a straightedge and square to maintain accuracy.
After initial shaping, a belt sander or planer helps achieve uniform thickness across the board. This step ensures a flat, even surface ideal for food preparation. I pay close attention to grain direction, adjusting my technique to avoid tearout, which can mar the wood’s natural beauty. Patience during this phase yields boards that feel substantial and balanced in hand.
Sanding Techniques for a Silky Smooth Finish
Sanding constitutes the most time-intensive portion of the process, yet it profoundly impacts the end product’s quality. Starting with 80-grit paper, I progressively work through finer grits—120, 220, up to 320 or higher—on both faces and edges. A random orbital sander speeds up flat areas, while hand sanding guarantees detail work around handles or feet. Special backside sandpaper prevents swirl marks and enhances efficiency, allowing for consistent pressure without gumming up.
For edges, I employ a sanding beam or wrapped blocks to maintain straightness, preventing rounding that diminishes functionality. The goal is a surface so smooth it almost gleams, ready for finishing without further imperfections. This meticulous sanding not only elevates tactile pleasure but also ensures longevity, as rough spots invite bacterial growth or wear.
Throughout sanding, dust collection plays a vital role. An air cleaner, like a high-powered model, keeps the shop breathable, while shop vacs capture debris at the source. Maintaining a clean environment protects respiratory health and preserves tool sharpness over time.
Laser Engraving: Adding a Personal Signature
A standout feature of these boards is the laser-engraved TWW logo, which adds branding and uniqueness. Using a precise laser cutter, I position the blank securely and run a quick program to etch the design into the surface. This non-contact method delivers crisp, permanent markings without generating heat damage or discoloration in most woods.
Engraving placement matters—typically near one end or corner, ensuring it remains functional rather than obtrusive. Depth control prevents weakening the board while providing enough contrast for visibility. This step transforms a simple utilitarian item into a branded keepsake, appealing to collectors and everyday users alike.
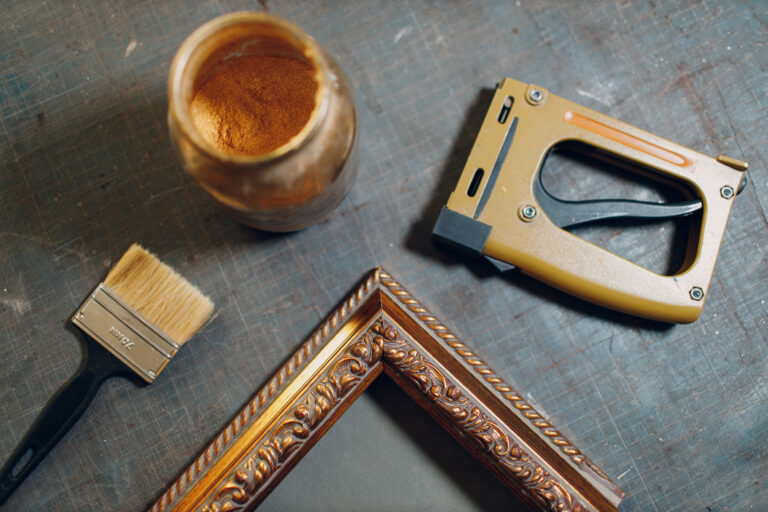
Applying Food-Safe Finishes for Durability
Finishing seals the wood, rendering it waterproof, antibacterial, and visually enhanced. I favor pure walnut oil or a blend of walnut oil and beeswax for their natural properties and ease of maintenance. Application starts generously with a rag or pad, allowing penetration before wiping excess. Multiple coats—often three to five—build protection layers, with drying time between each.
For oil finishes, irrigation syringes aid in even distribution without pooling. Buffing with microfiber bonnets on a variable-speed buffer polishes to a satin sheen post-curing. This method outperforms spray finishes for cutting boards, as it nourishes the wood continuously and requires simple reapplication over time.
Alternative finishes like pure tung oil or polymerized options offer similar benefits, chosen based on desired sheen and drying speed. Always verify food safety certifications to comply with standards, ensuring end-users confidence in daily kitchen use.
Shop Organization and Waste Reduction Strategies
Interwoven with production are shop organization tasks. Sorting scraps by species and size facilitates future projects, while labeling bins streamlines retrieval. This systematic approach saves hours otherwise lost to clutter, fostering productivity and creativity.
Beyond cutting boards, similar techniques apply to charcuterie boards, coasters, or trivets, maximizing scrap utility. Embracing this mindset reduces landfill contributions and offsets material costs, making hobbyist ventures more viable.
Quality Checks and Packaging for Sale
Prior to sale, rigorous inspection occurs: dimensions verified, edges inspected for sharpness, finishes tested for tackiness, and engravings admired for alignment. Only flawless pieces proceed, upholding reputation integrity.
Packaging involves protective wraps, branded tags detailing care instructions—like hand washing and periodic oiling—and secure boxes for shipping. Clear communication builds customer loyalty, encouraging repeat business and referrals.
Insights from a Woodworker’s Routine
This vlog captures an authentic day in the life, blending craftsmanship with commerce. While large builds dominate, these smaller pursuits refresh skills, clear mental space, and connect directly with supporters through tangible products. Tips shared—on tool maintenance, finish application hacks, or dust management—stem from years of hands-on experience, adaptable to any woodworker’s setup.
Cats inevitably photobomb, reminding us woodworking blends work with joy. Whether novice or seasoned, viewers glean actionable takeaways for their own projects, inspired to repurpose scraps creatively.
Selling handmade items marks a milestone, bridging passion and profession. It underscores viability of woodworking as more than hobby, provided consistent quality and smart resource use prevail. Explore these processes yourself, elevating shop efficiency and output value.