What You’ll Need
- Wooden pallet (You can usually find these for free at local warehouses or stores)
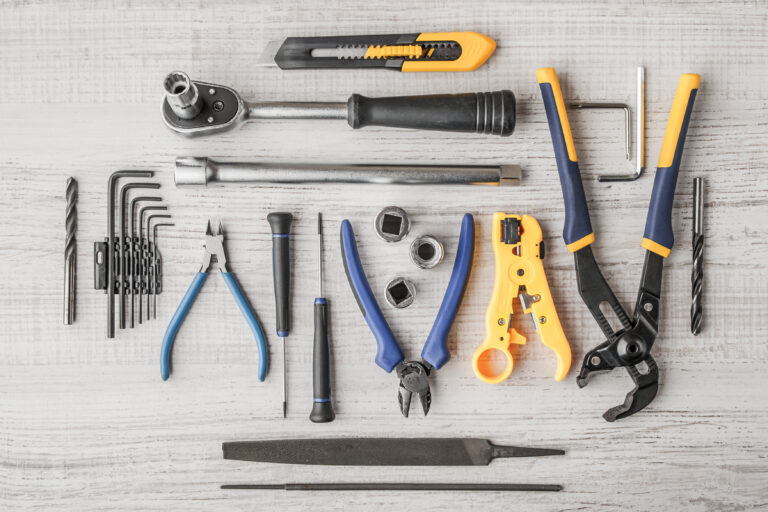
- Screwdriver and screws
- Sandpaper (or an electric sander for faster work)
- Wood stain or paint (your choice of color or finish)
- Wooden furniture legs (or castors if you want a more industrial look)
- Measuring tape and level
- Wood glue (optional, for extra stability)
Step 1: Choose the Right Pallet
The first step is selecting the right pallet for your project. You’ll want one that’s sturdy and in good condition, with no broken slats or splinters. Look for a pallet that has a smooth surface, or one that has minimal damage that can be sanded down. If you’re not sure, it’s always a good idea to check the weight capacity stamped on the side of the pallet, especially if you plan on adding heavy décor or items to the table.
Step 2: Sand the Wood
Once you’ve selected your pallet, it’s time to start sanding. Pallets are often rough and uneven, so you’ll need to smooth out the wood to avoid any splinters. Use sandpaper or a power sander to remove rough edges, and go over the entire surface until it’s nice and smooth. If you want a more refined finish, you can also sand the edges and corners to create a rounded, softer look.
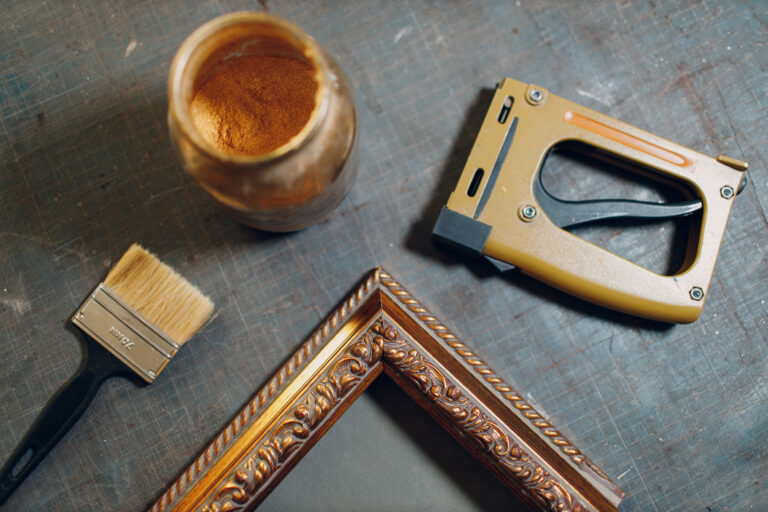
Step 3: Stain or Paint the Pallet
Now it’s time to give your pallet a fresh look. Whether you prefer a natural wood finish or want to add a pop of color, staining or painting your pallet will give it a custom touch. Choose a wood stain if you want to highlight the natural grain of the wood, or pick a paint color that matches your décor. Apply your choice of stain or paint evenly with a brush, and allow it to dry completely before moving on to the next step.
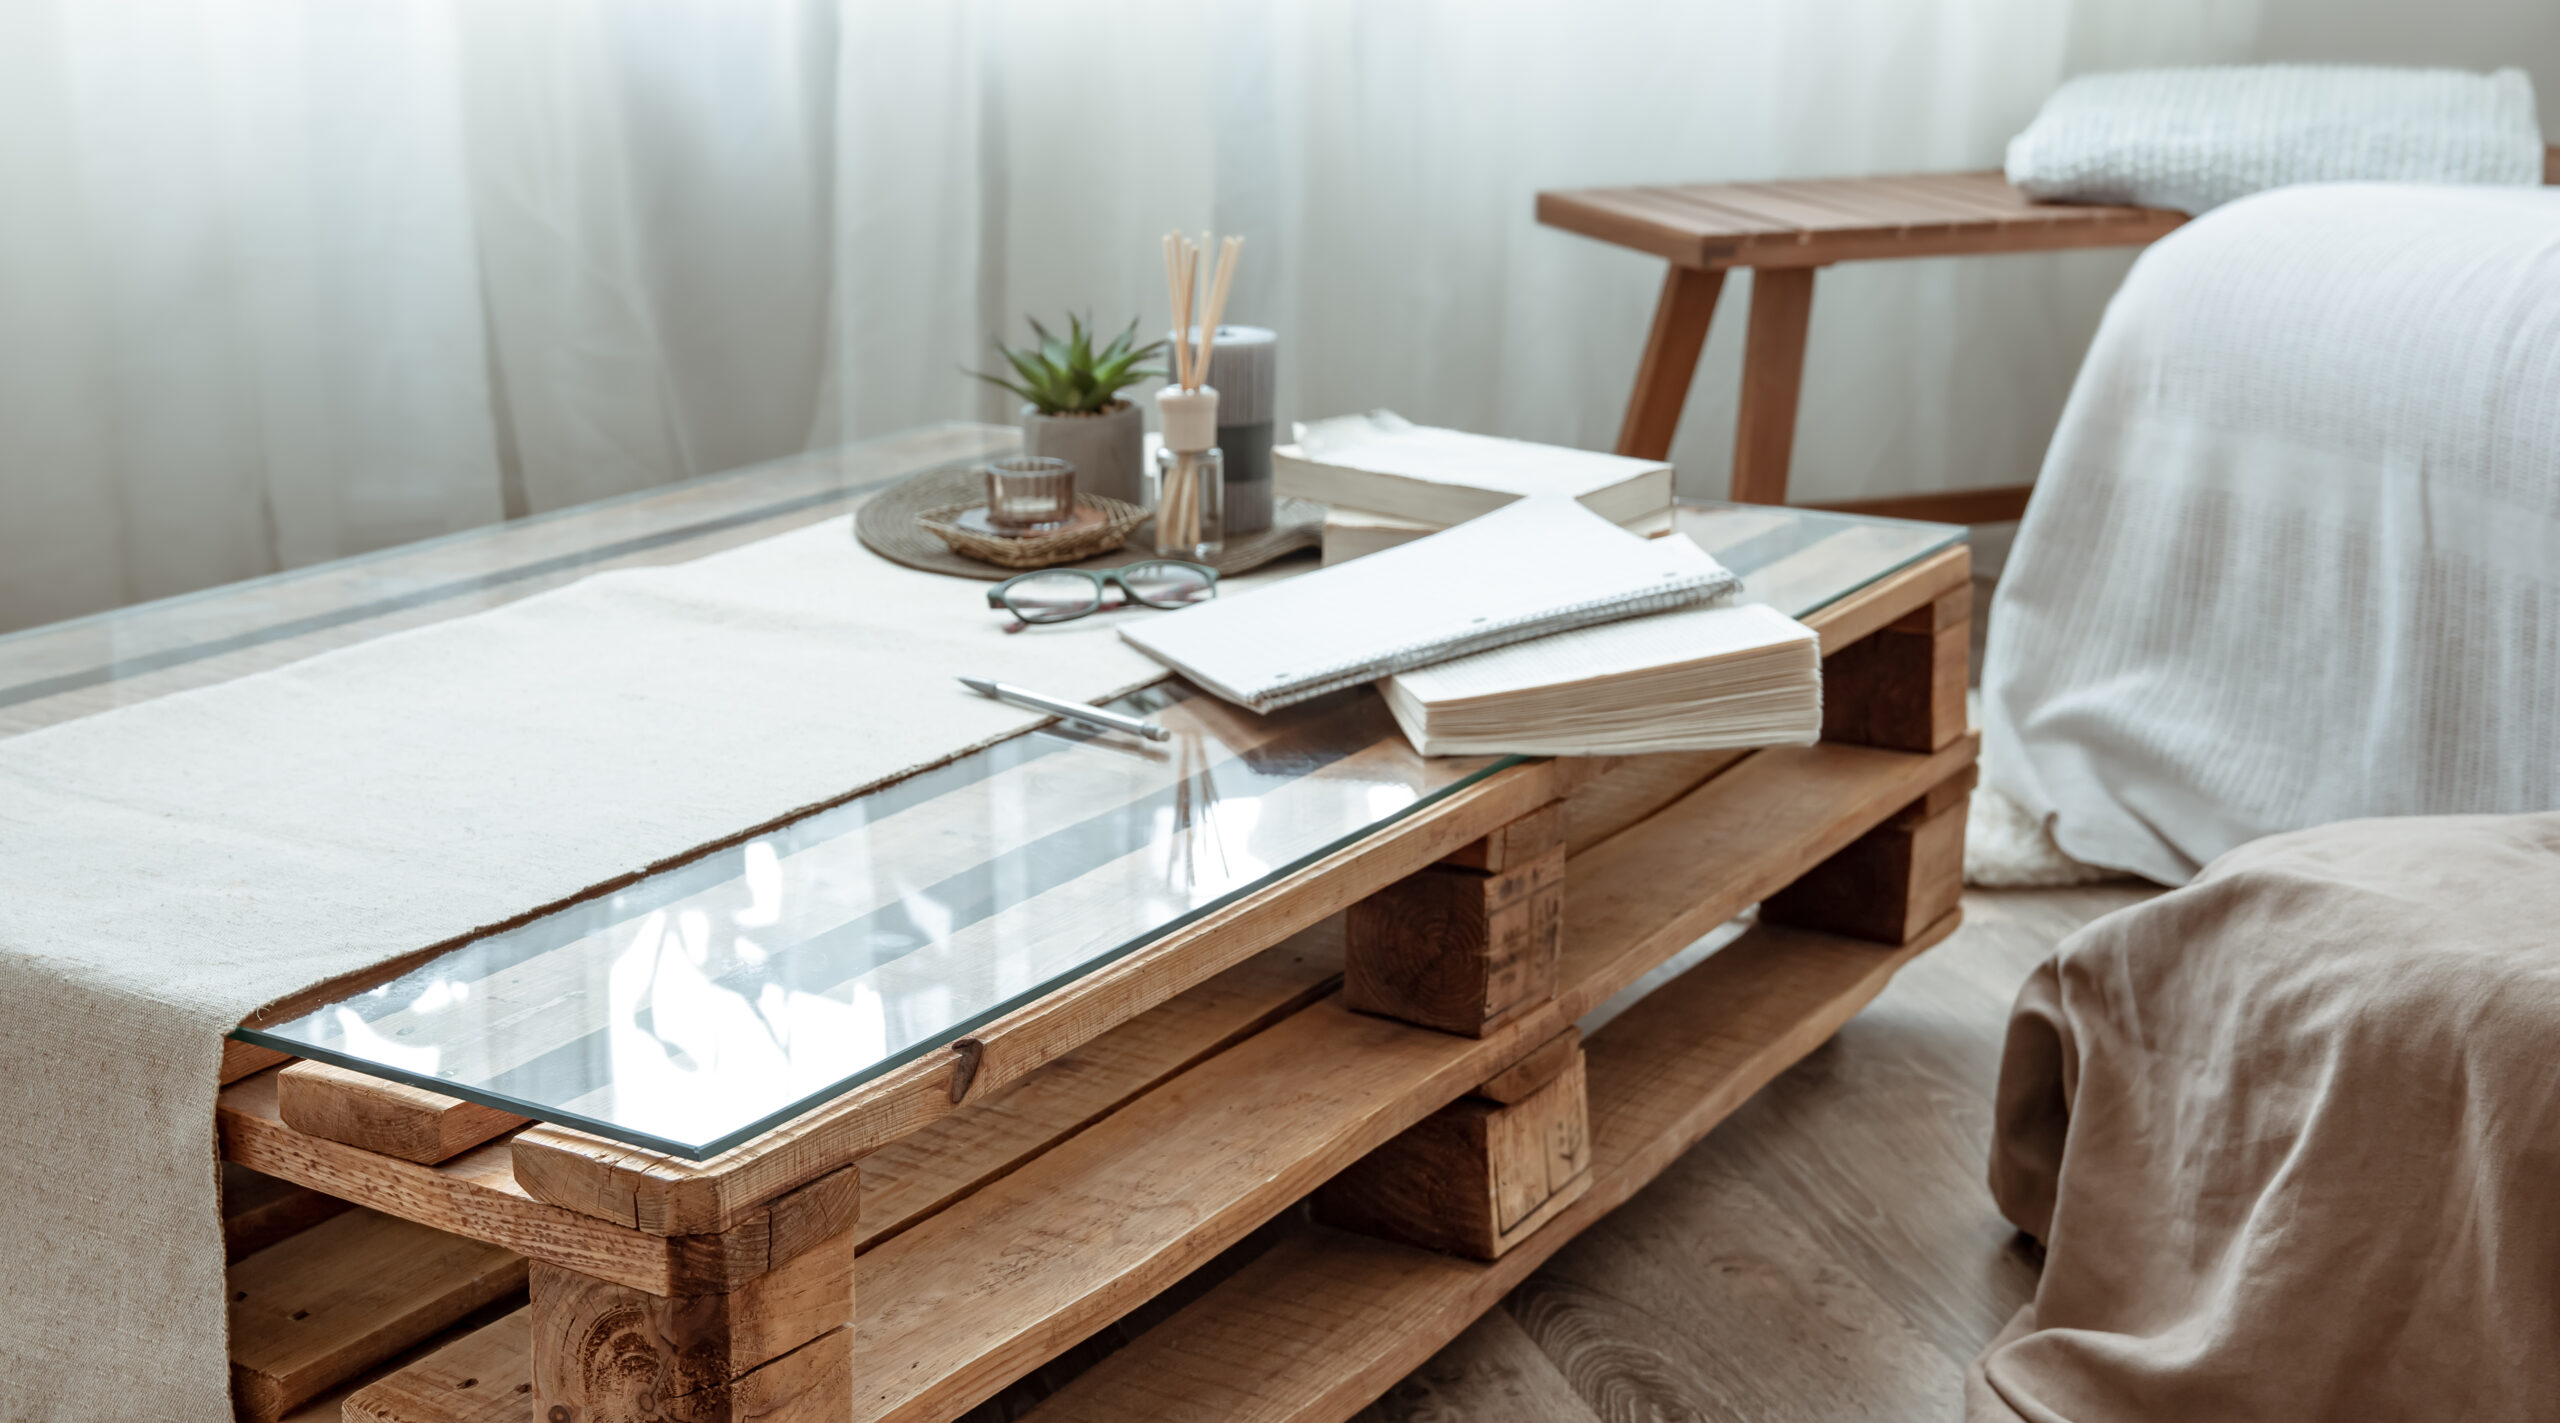
Step 4: Attach the Legs
Once the table is dry, it’s time to add some legs to elevate your pallet coffee table. You can use simple wooden furniture legs for a clean look, or add castors for an industrial vibe and easy mobility. Attach the legs by screwing them into each corner of the pallet, making sure they’re level. If you’re using castors, be sure to pick ones that lock, so your table stays in place when needed.
Step 5: Secure the Slats (Optional)
If you want to ensure your pallet stays sturdy and durable, you can use wood glue to secure the slats together. This is an optional step, but it can add extra stability to your table. Simply apply a thin layer of wood glue between the slats before tightening the screws, and let it dry for a few hours before moving the table.
Step 6: Final Touches
Before you’re done, take a moment to check that everything is level and secure. Use a measuring tape to double-check the height and placement of the legs, and make sure the table is balanced. If you feel like adding a bit of extra flair, you can apply a layer of clear polyurethane to give the surface a glossy finish and add protection. You can also add a few decorative touches, like a centerpiece or a few throw pillows, to complete the look.
Conclusion
Creating a wooden pallet coffee table is a fun and satisfying project that doesn’t require a lot of tools or experience. Whether you’re new to DIY or an experienced crafter, this table is a great way to add a personal touch to your home. With a little time and effort, you’ll have a beautiful, one-of-a-kind piece of furniture that will become the focal point of your living room. So grab a pallet, get started, and enjoy the process!
Happy DIY-ing!