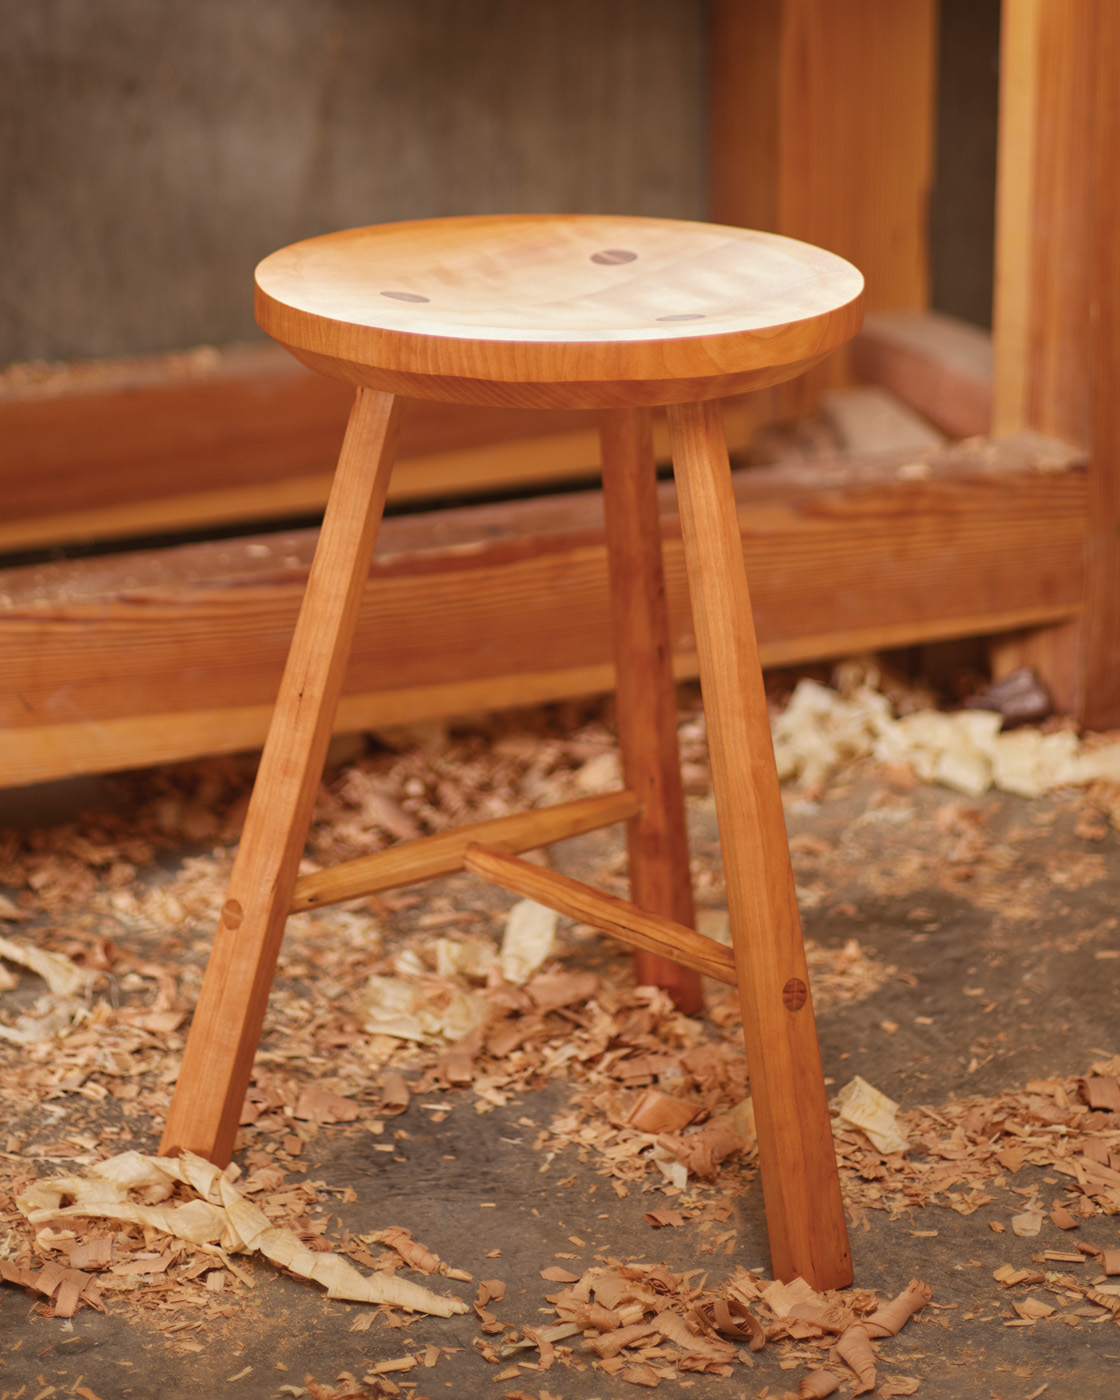
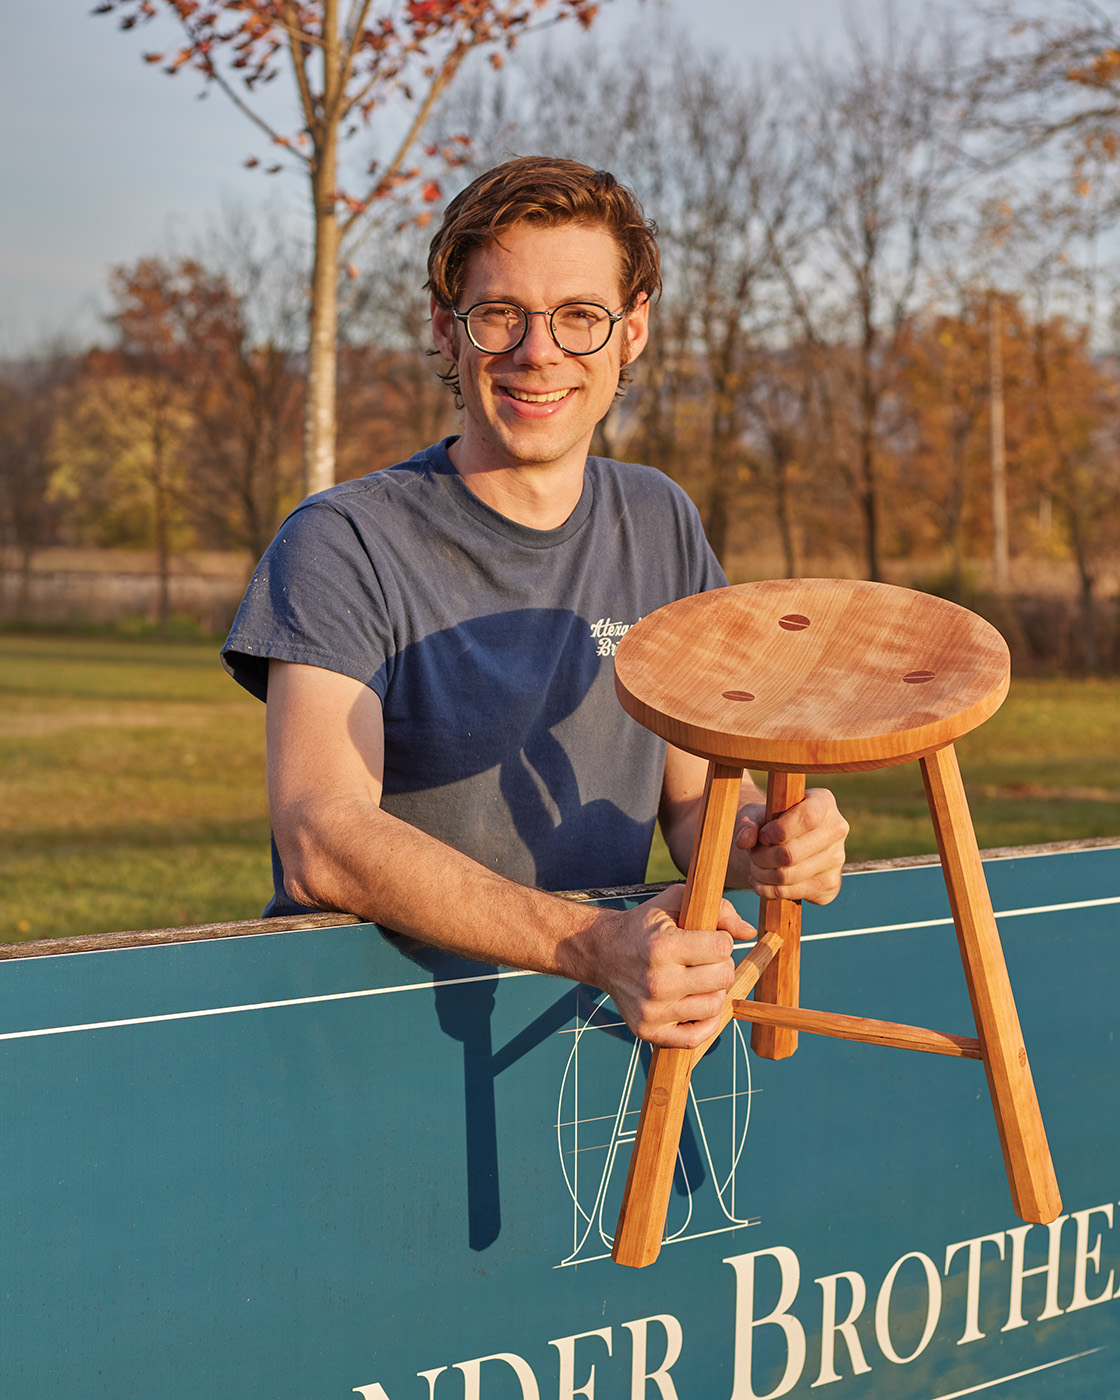
The Seat
This charming hearth stool represents an uncomplicated seating solution that merges time-honored chair construction methods with solid woodworking principles. In the realm of furniture creation, providing a reliable spot to rest is among the fundamental objectives. Yet, crafting chairs often daunts numerous woodworkers due to the precise angles and contours that demand accuracy. To simplify matters, consider eliminating the backrest entirely, resulting in a straightforward stool. Further reducing complexity by removing one leg yields a stable three-legged version. This approach offers an ideal entry point for builders.
Selecting appropriate wood species is straightforward; opt for any material possessing adequate strength and durability. Popular options include various oaks, ash, elm, cherry, walnut, or maple. For the seat blank, prioritize toughness since the legs function as wedges, exerting pressure that could cause splitting if the wood is weak. Ensure the seat wood is devoid of voids or cracks. Interestingly, wood with twisted, irregular grain patterns may enhance resistance to splitting. Regarding legs and stretchers, seek stock with exceptionally straight grain running parallel from end to end, devoid of runout. Trace the growth rings along the length; they should remain consistent without veering toward the edges.
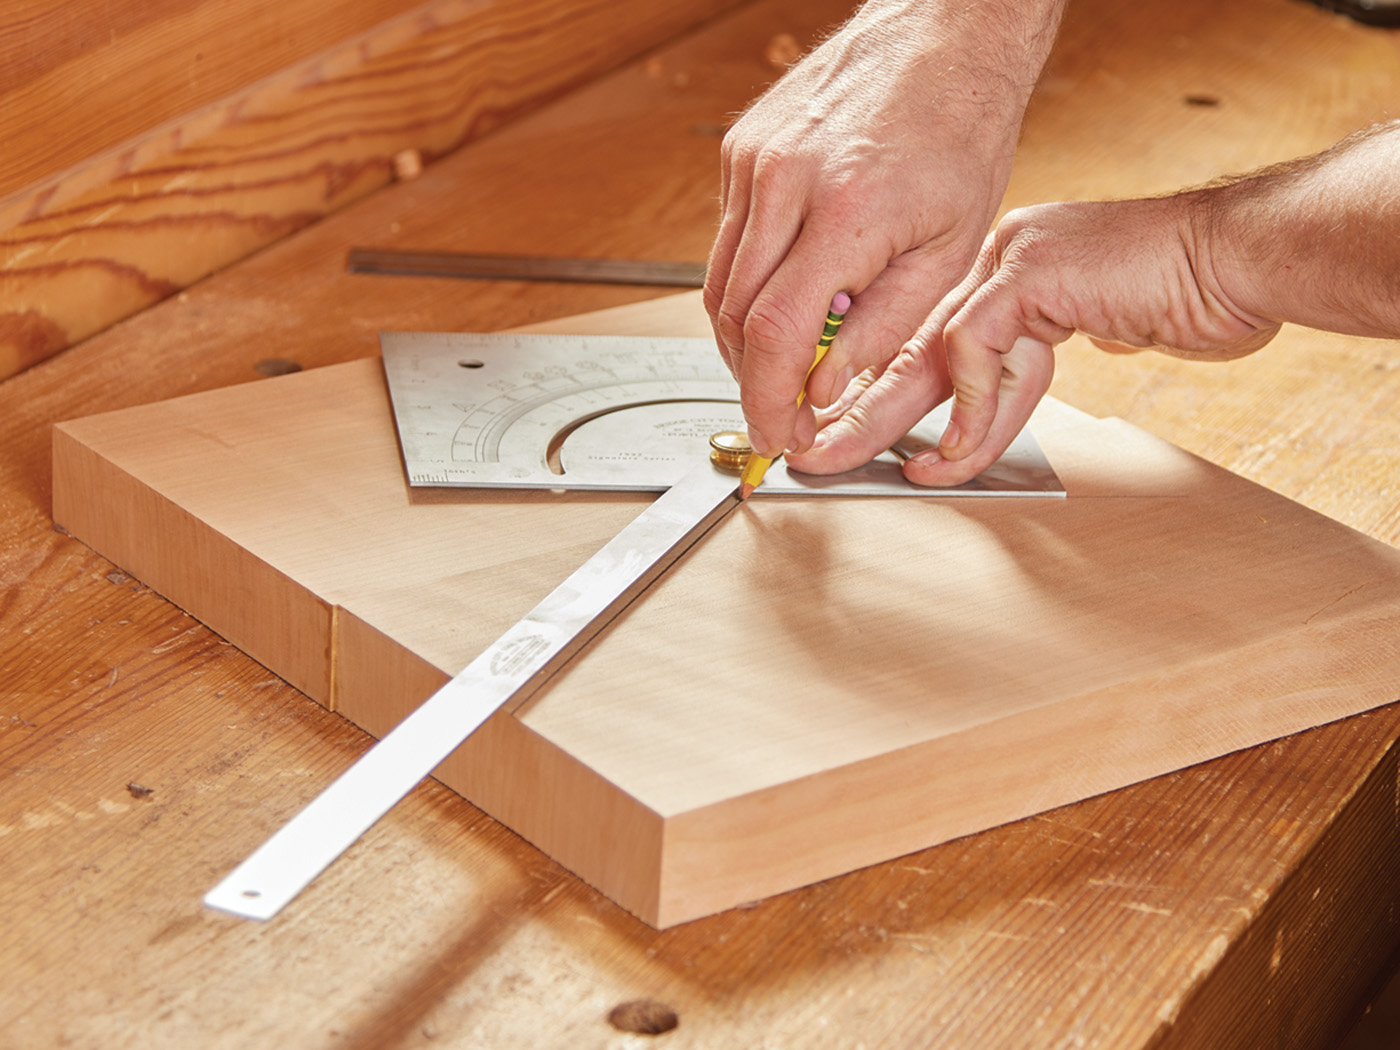
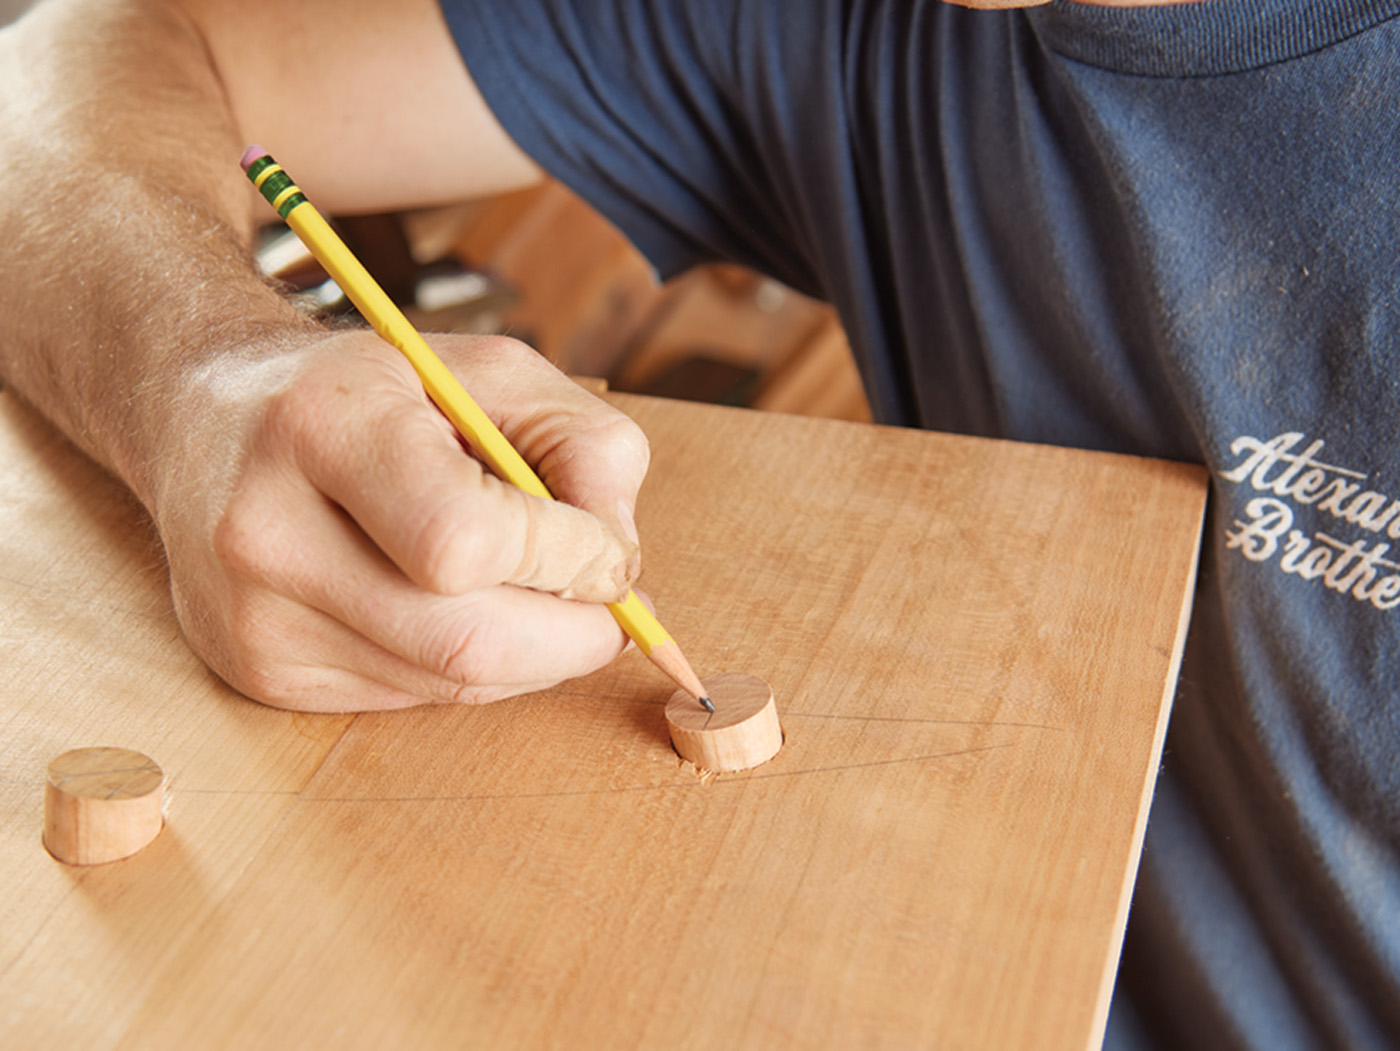
Commence seat preparation by precisely locating the center. Draw diagonal lines connecting opposite corners on both faces of the blank using a straightedge. Determine the top and bottom surfaces; traditionally, designate the bark side as the top for a more attractive grain display once dished. With decisions made, adjust a compass to a 5-3/4-inch radius and scribe an 11-1/2-inch diameter circle on the bottom face, centered at the marked point. This outlines the seat’s exterior perimeter. Proceed to scribe two additional concentric circles: one at 5 inches and another at 4 inches using the same center.
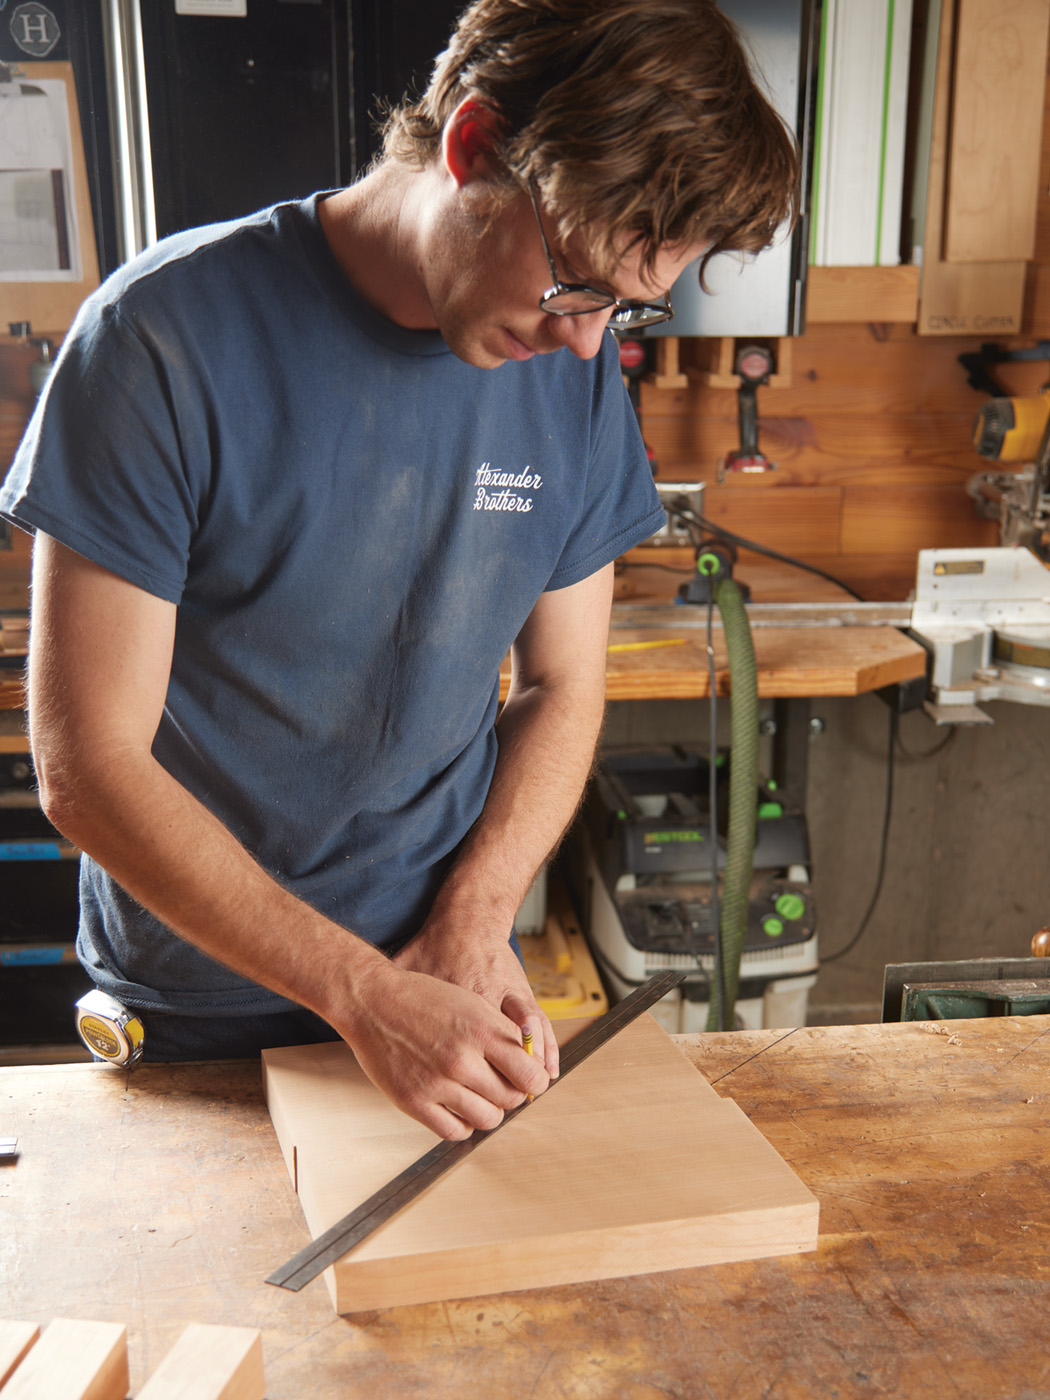
Next, establish sightlines crucial for accurate leg mortise placement. Employ a ruler or straightedge to draw radial lines from the center to the outer edge, crossing all previously drawn circles. Utilize a protractor to plot at least two more lines emanating from the center, each separated by 120 degrees from the initial line. The intersections of these three lines with the 4-inch circle pinpoint the exact centers for drilling leg mortises.
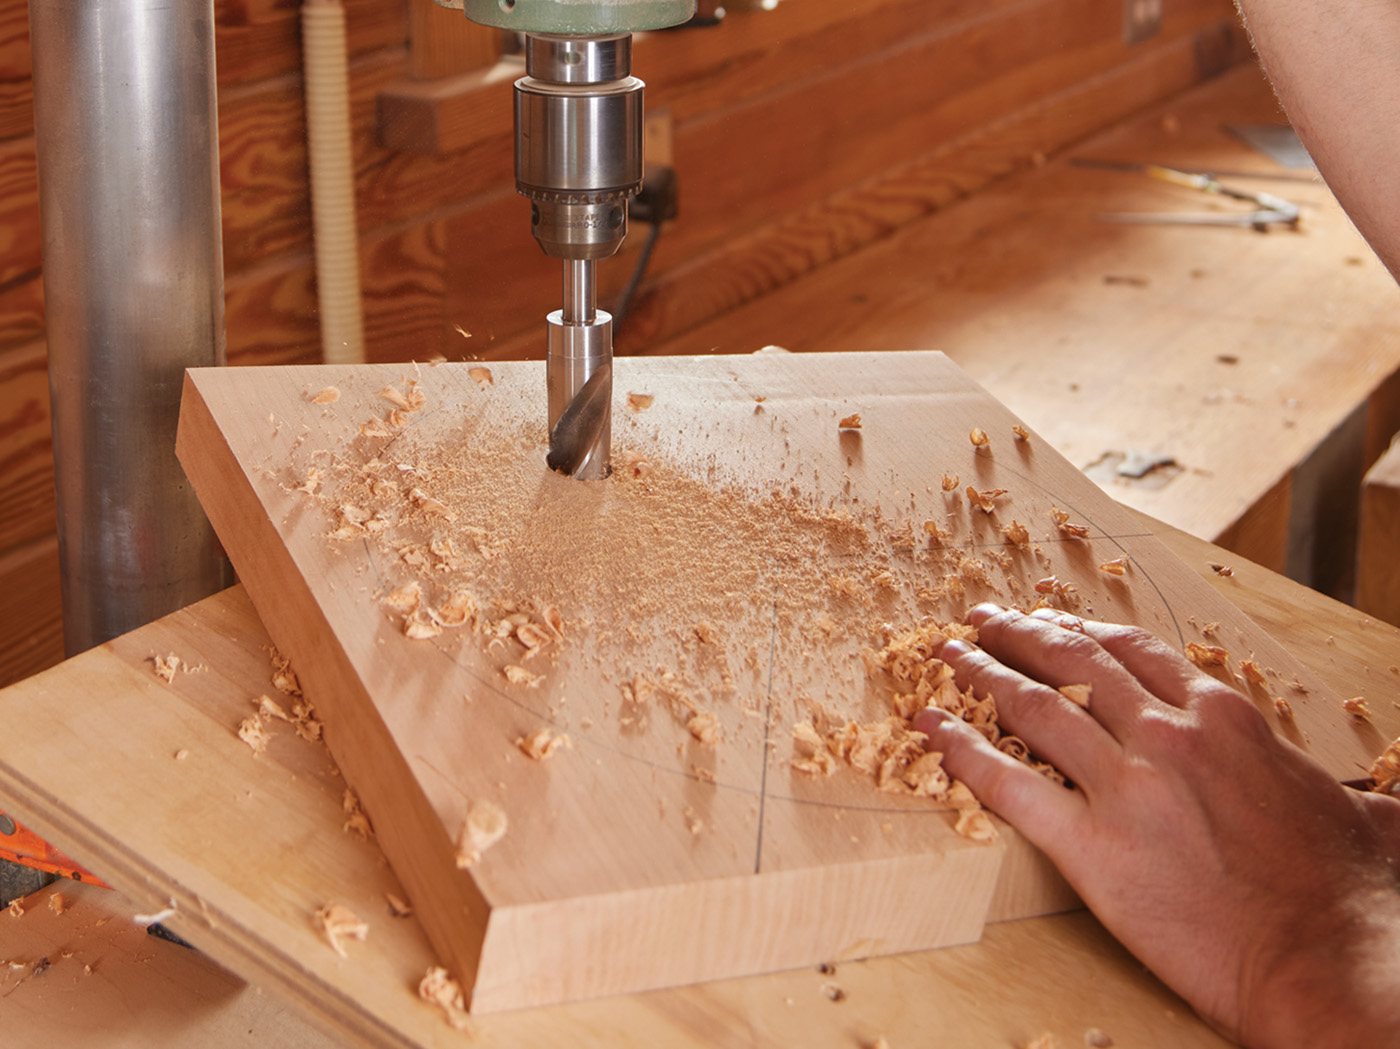
With layout complete, drill the leg mortises. A drill press equipped with a tilting table is highly recommended. Tilt the table to 13 degrees relative to the drill bit. Position the workpiece so each sightline aligns with the bit’s sightline when viewed from the front of the press. Use a 1-inch Forstner bit to bore each mortise straight through the seat.
Transition to shaping the seat’s top surface. Only the center marks appear on this side initially. Set the compass to 5-3/4 inches to outline the 11-1/2-inch outer diameter. For this design, incorporate a 1-inch wide flat facet around the perimeter before the dished area begins. Scribe a second circle at 4-3/4 inches to delineate this facet’s inner boundary.
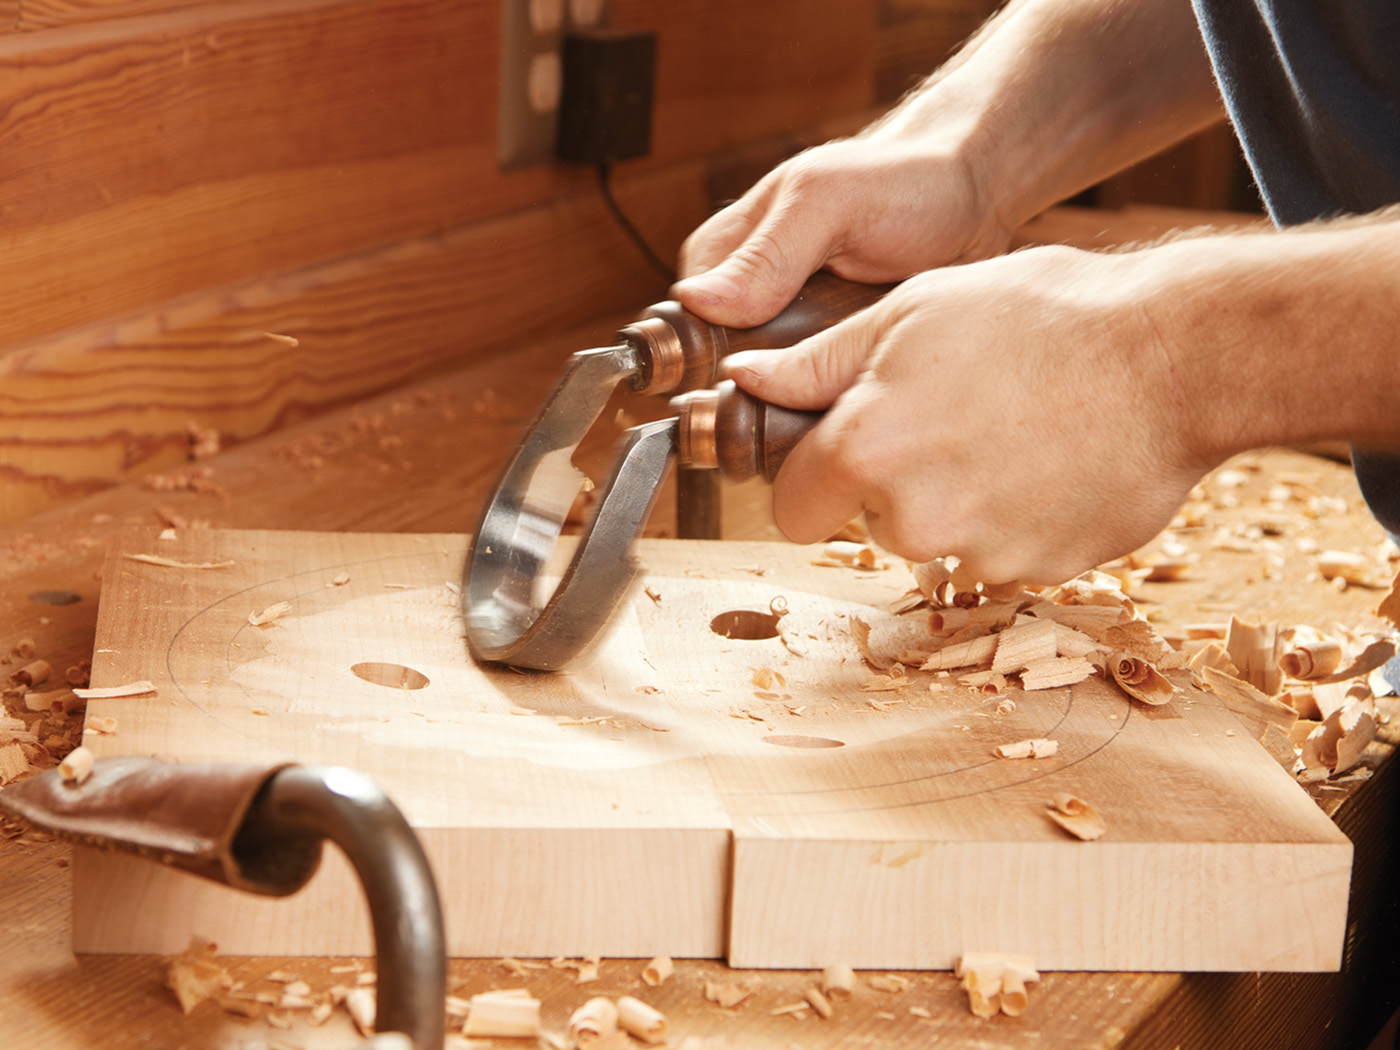
Create a depth gauge for carving by drilling a 3/8-inch deep hole at the center using a 1/4-inch bit. Employ preferred tools such as a scorp, travisher, gouges, or even a grinder to hollow the dished region. Cease carving upon reaching the depth hole’s bottom, guided by the 4-3/4-inch circle. Aim for a smooth, inverted hemispherical contour, refining further with sandpaper for a flawless finish.
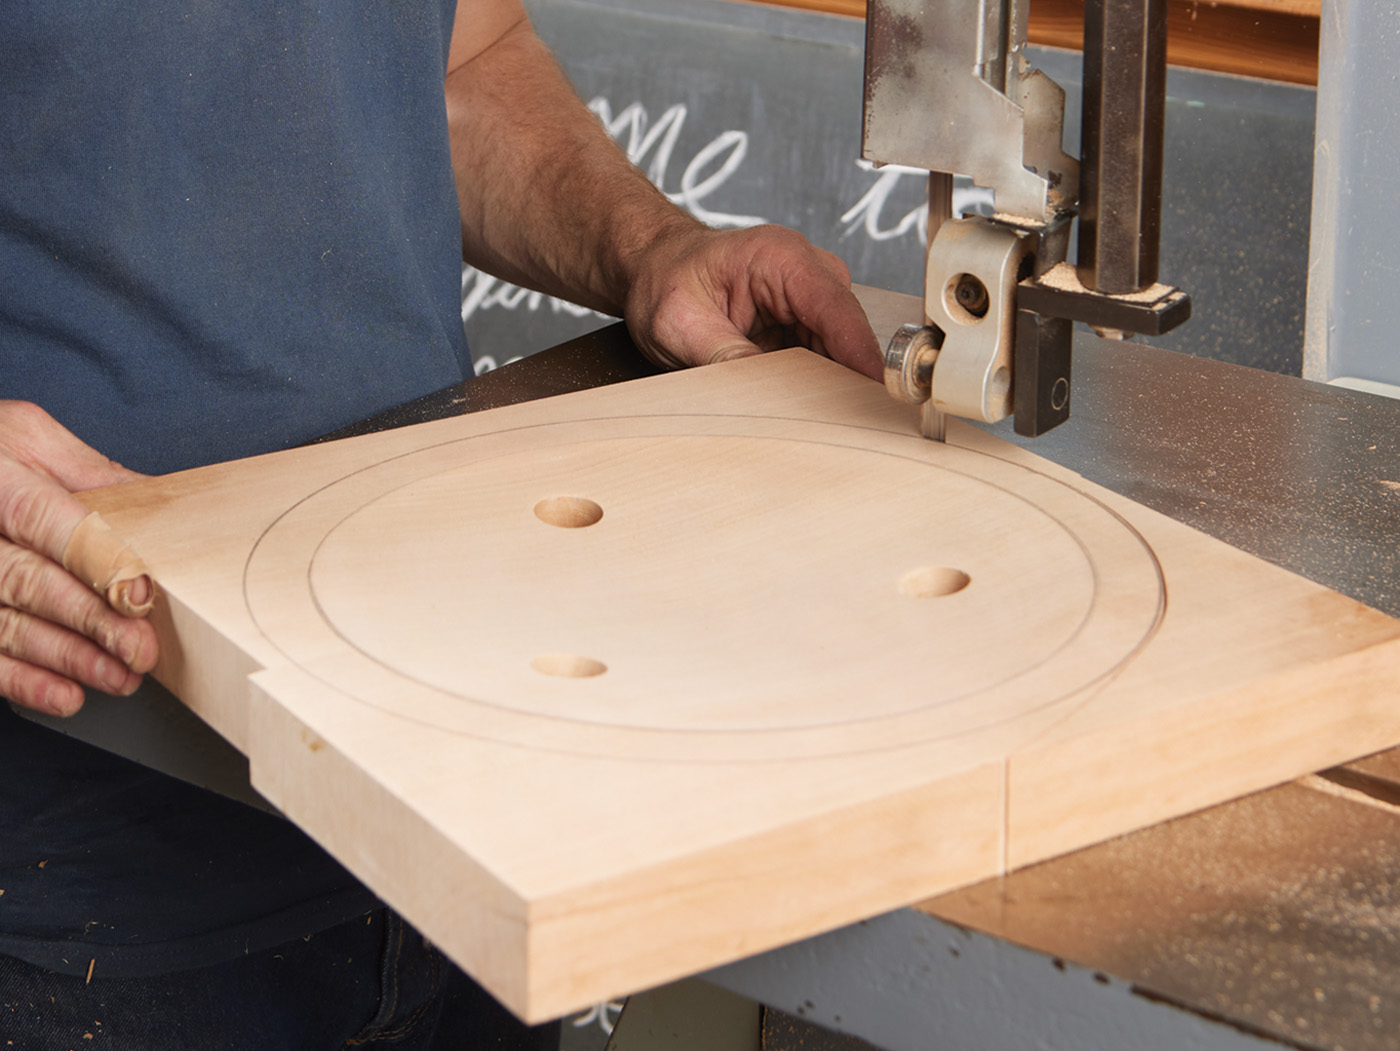
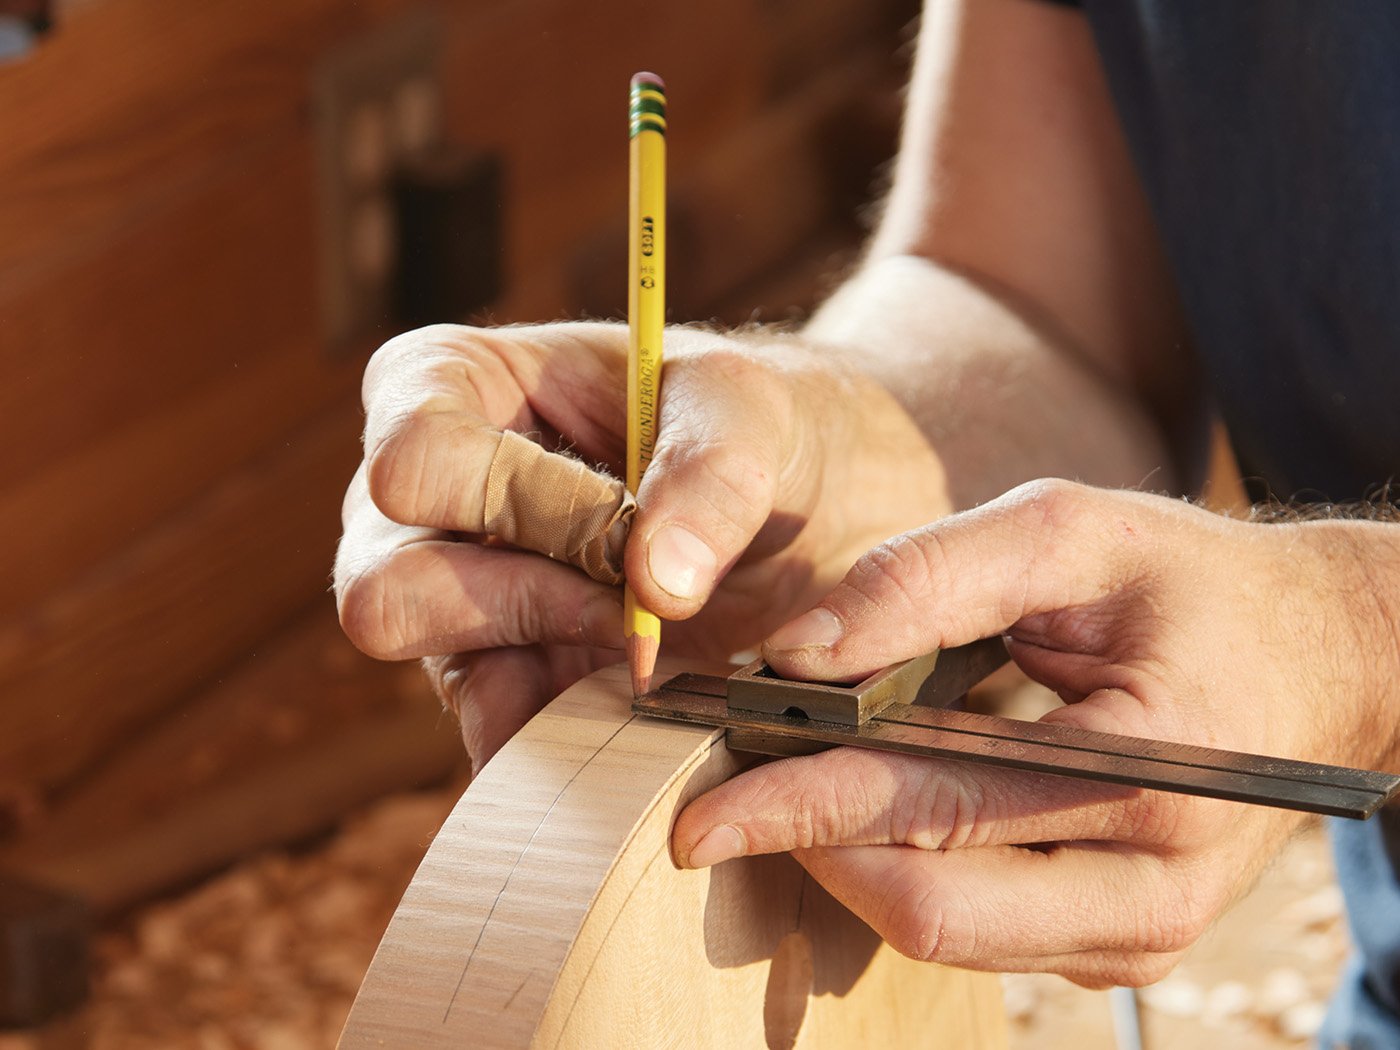
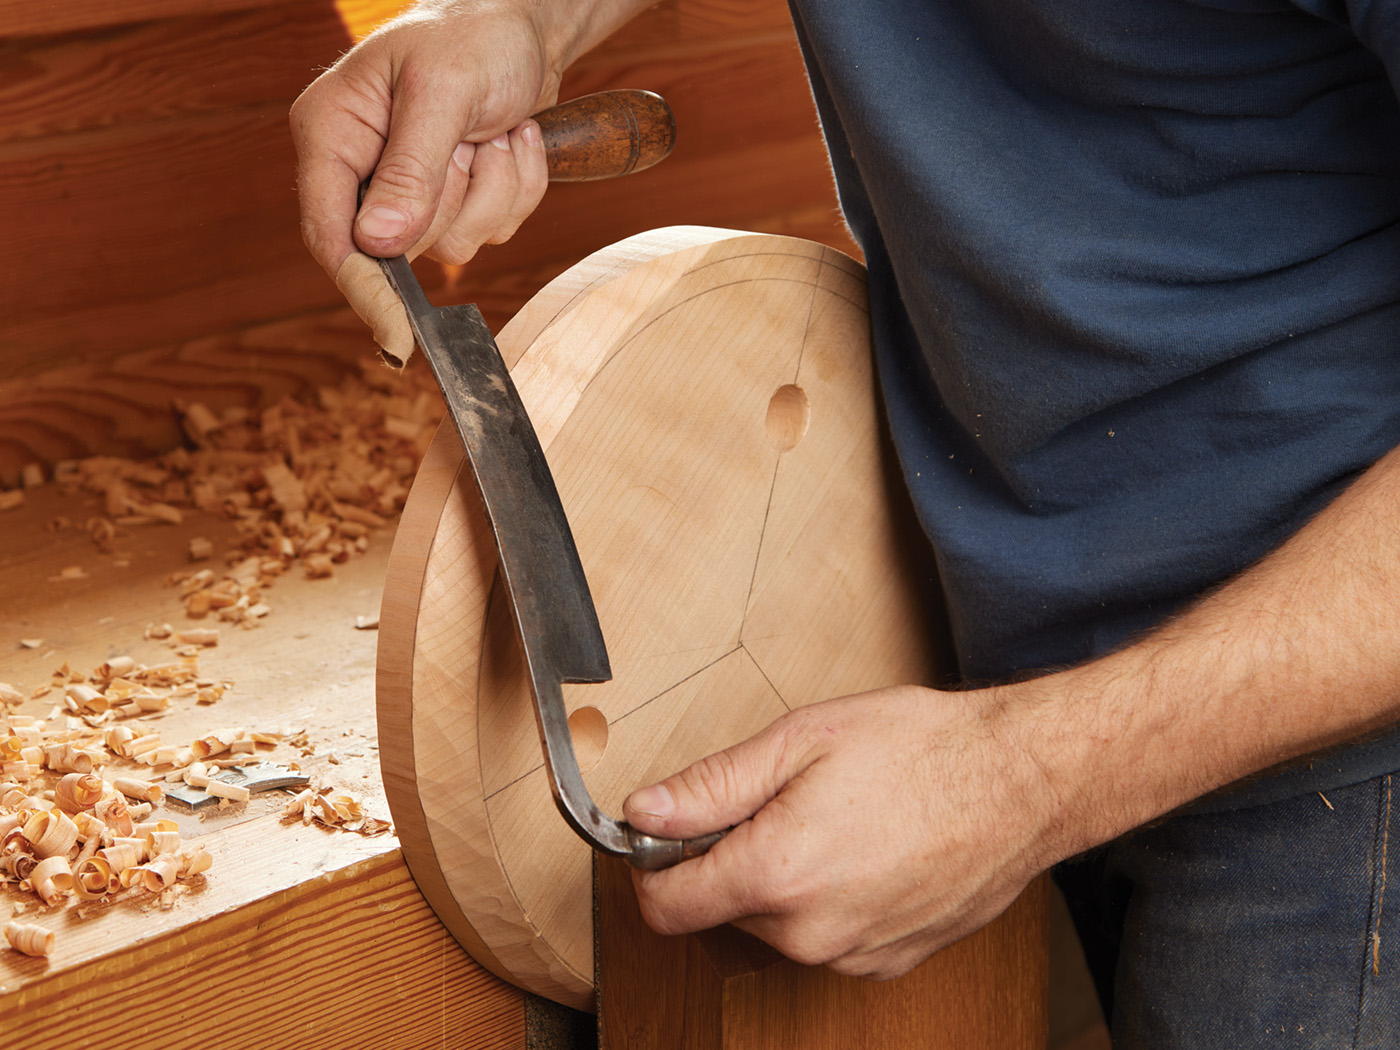
After completing the top dish, bandsaw the seat to the 5-3/4-inch circle line. A narrow blade excels here, though a jigsaw or bow saw serves adequately. Refine the sawn edge with a spokeshave or sander to eliminate kerfs. For the underside bevel, place the seat on edge and use a marking gauge or combination square set to 3/4 inch to scribe a line parallel to the bottom edge. With a drawknife, bevel from this line down to the 5-inch bottom circle, forming a flat underbelly facet. Approach within 1/16 inch using the drawknife, then perfect with spokeshave or sander.
Legs
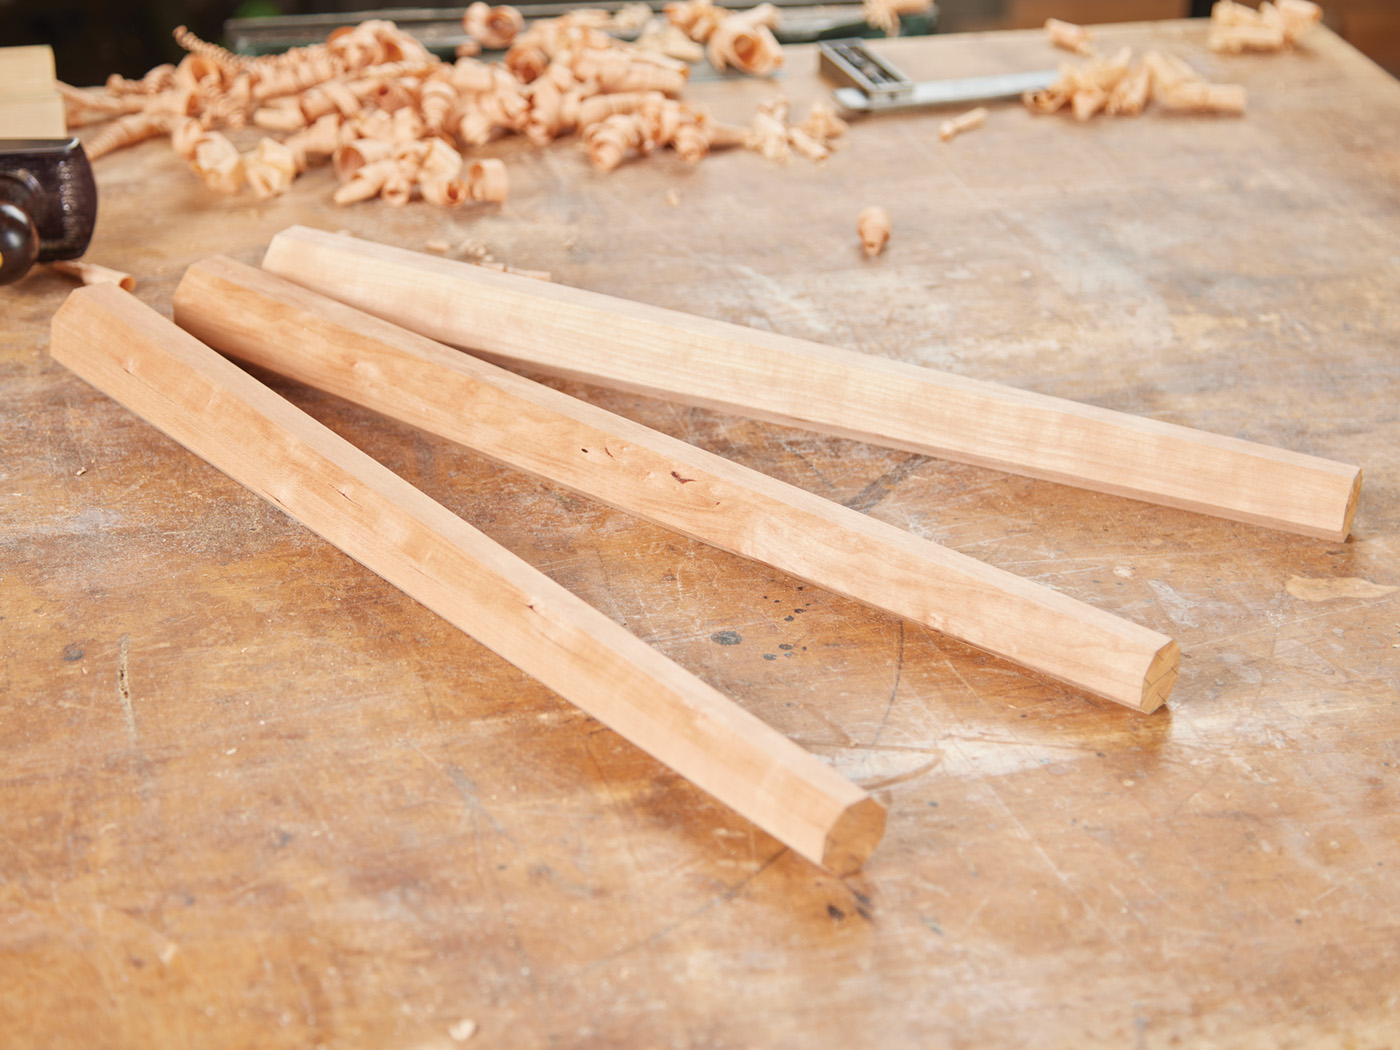
Begin leg fabrication by transforming square cutlist blanks into four-sided tapered stock. Taper from 1-1/4 inches at the narrow top end to 1-3/4 inches at the foot. Layout with a ruler, bandsaw slightly outside the lines, and plane precisely to dimension. Progress to forming tapered octagons by first marking octagonal profiles at both ends.
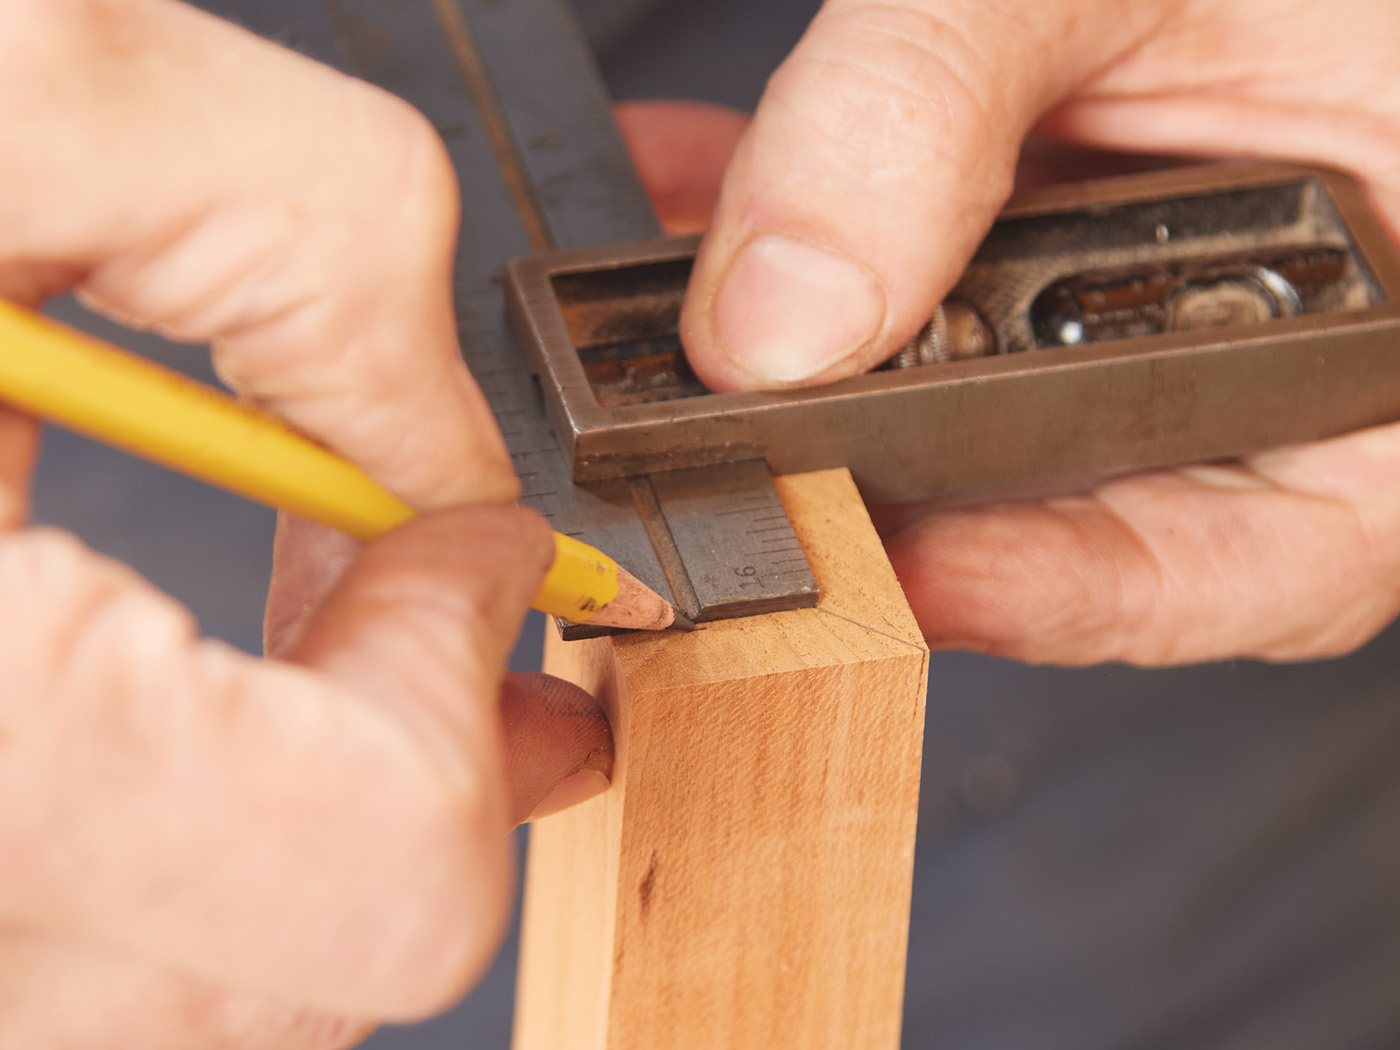
Secure a leg blank in a vise with one end upward. Using a combination square, draw a diagonal across opposite corners. Measure the perpendicular distance from an adjacent corner to this diagonal; designate this as dimension A. Set the combination square to A and mark points inward from each corner along the edges by this distance. Connect these points across corners to outline a precise octagon.
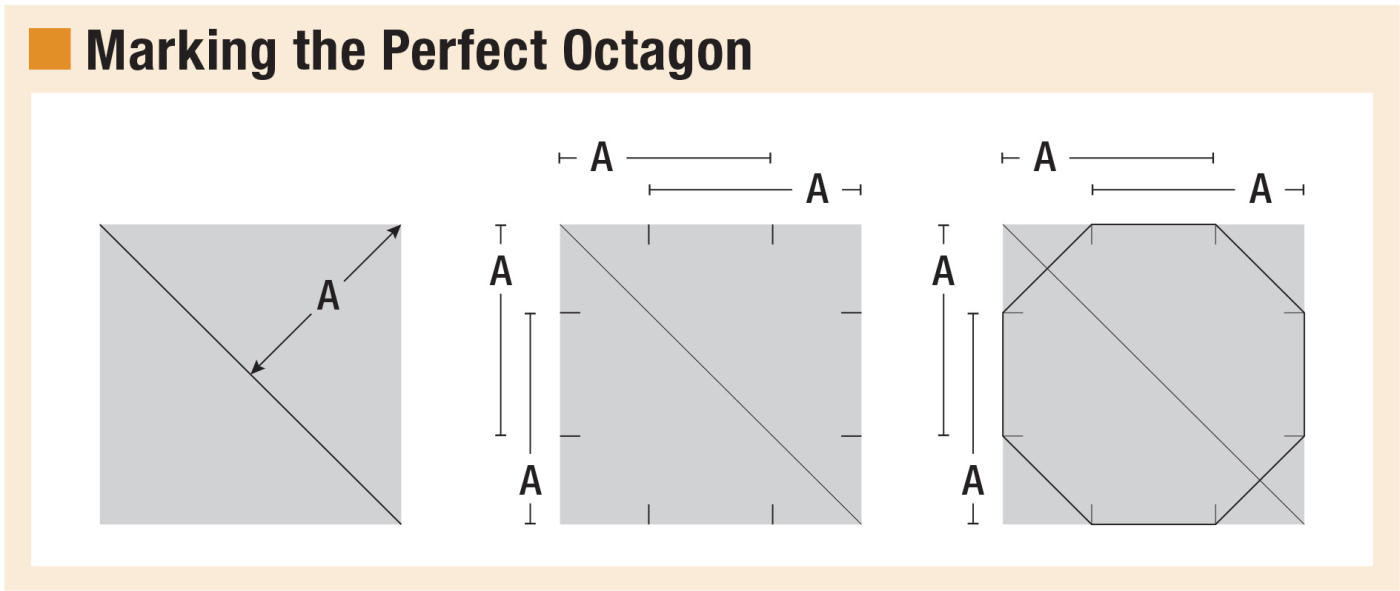

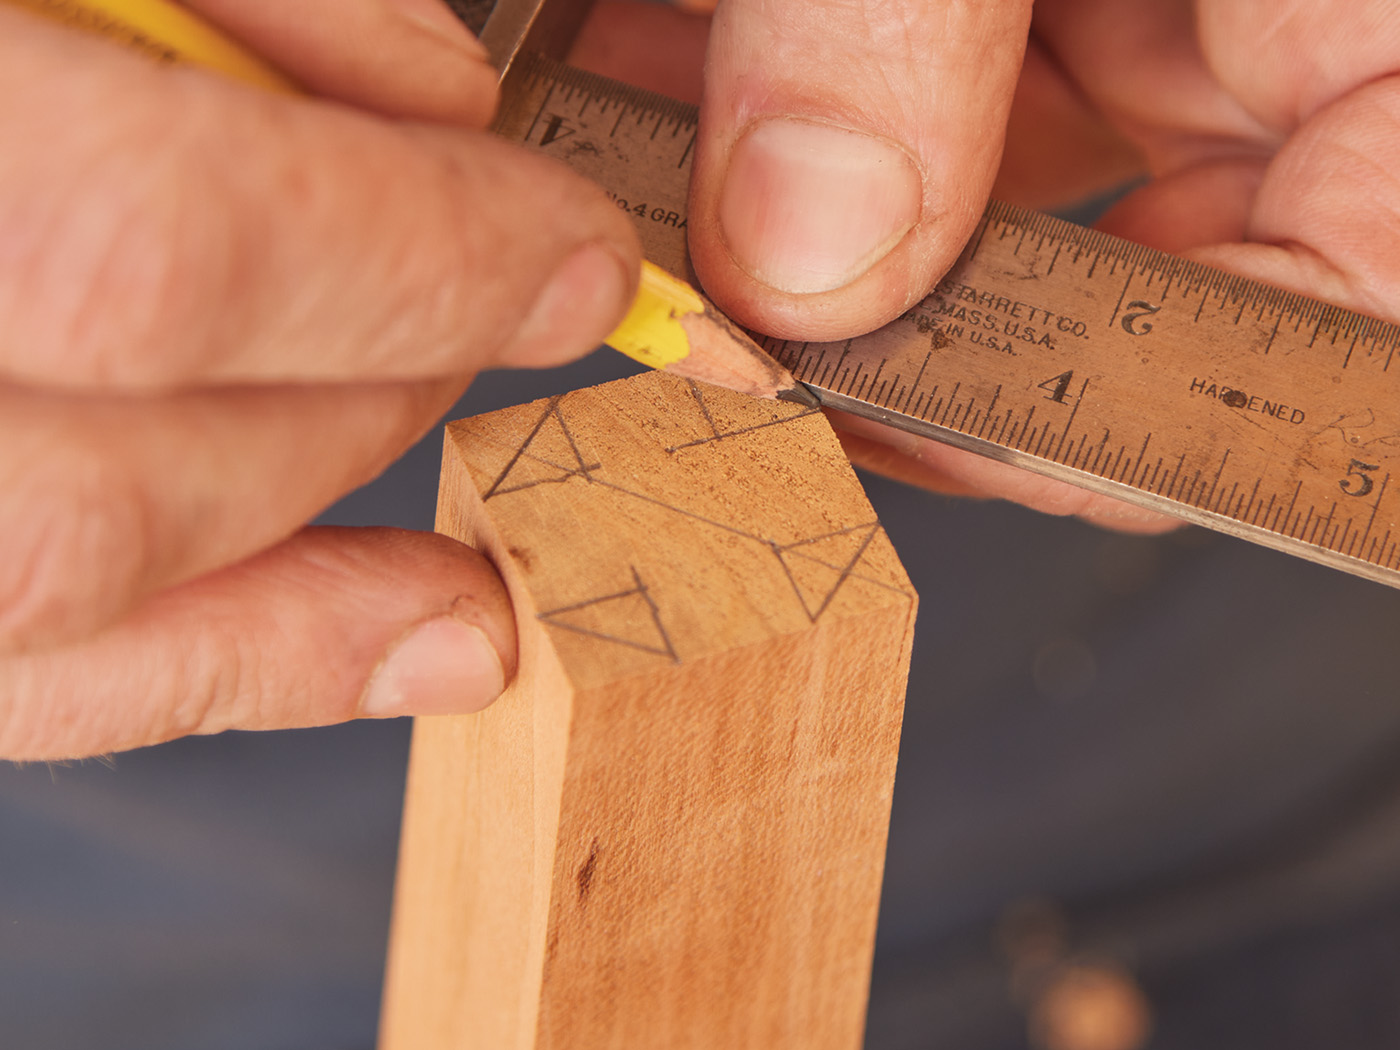
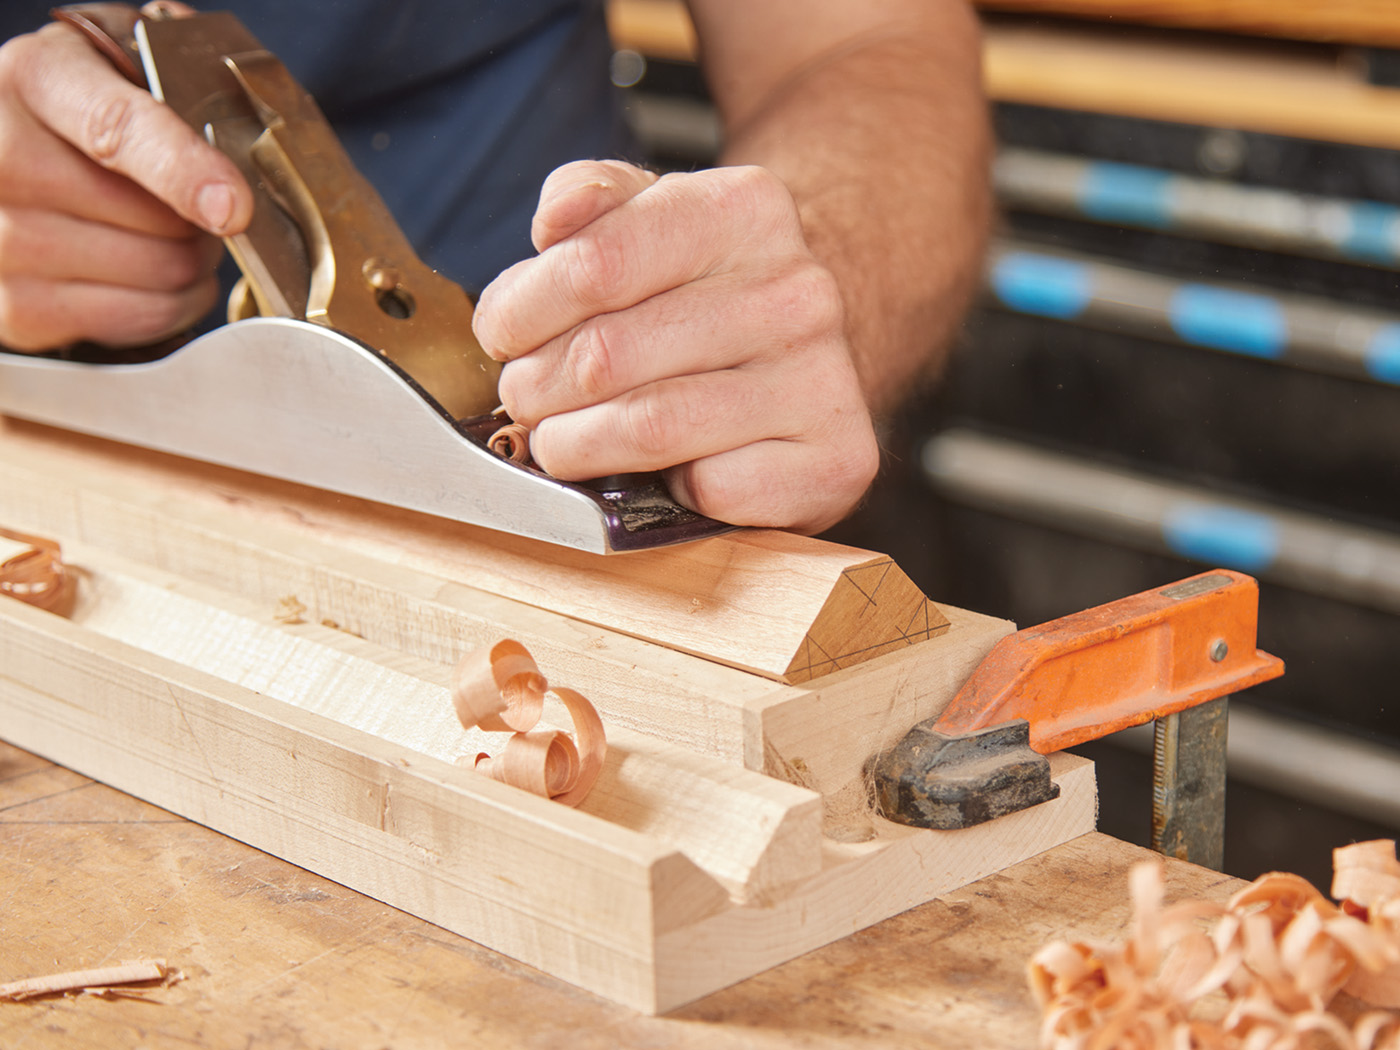
Repeat octagon marking at the opposite end. Plane away the corners, blending the facets smoothly from end to end, yielding a uniform tapered octagon leg.
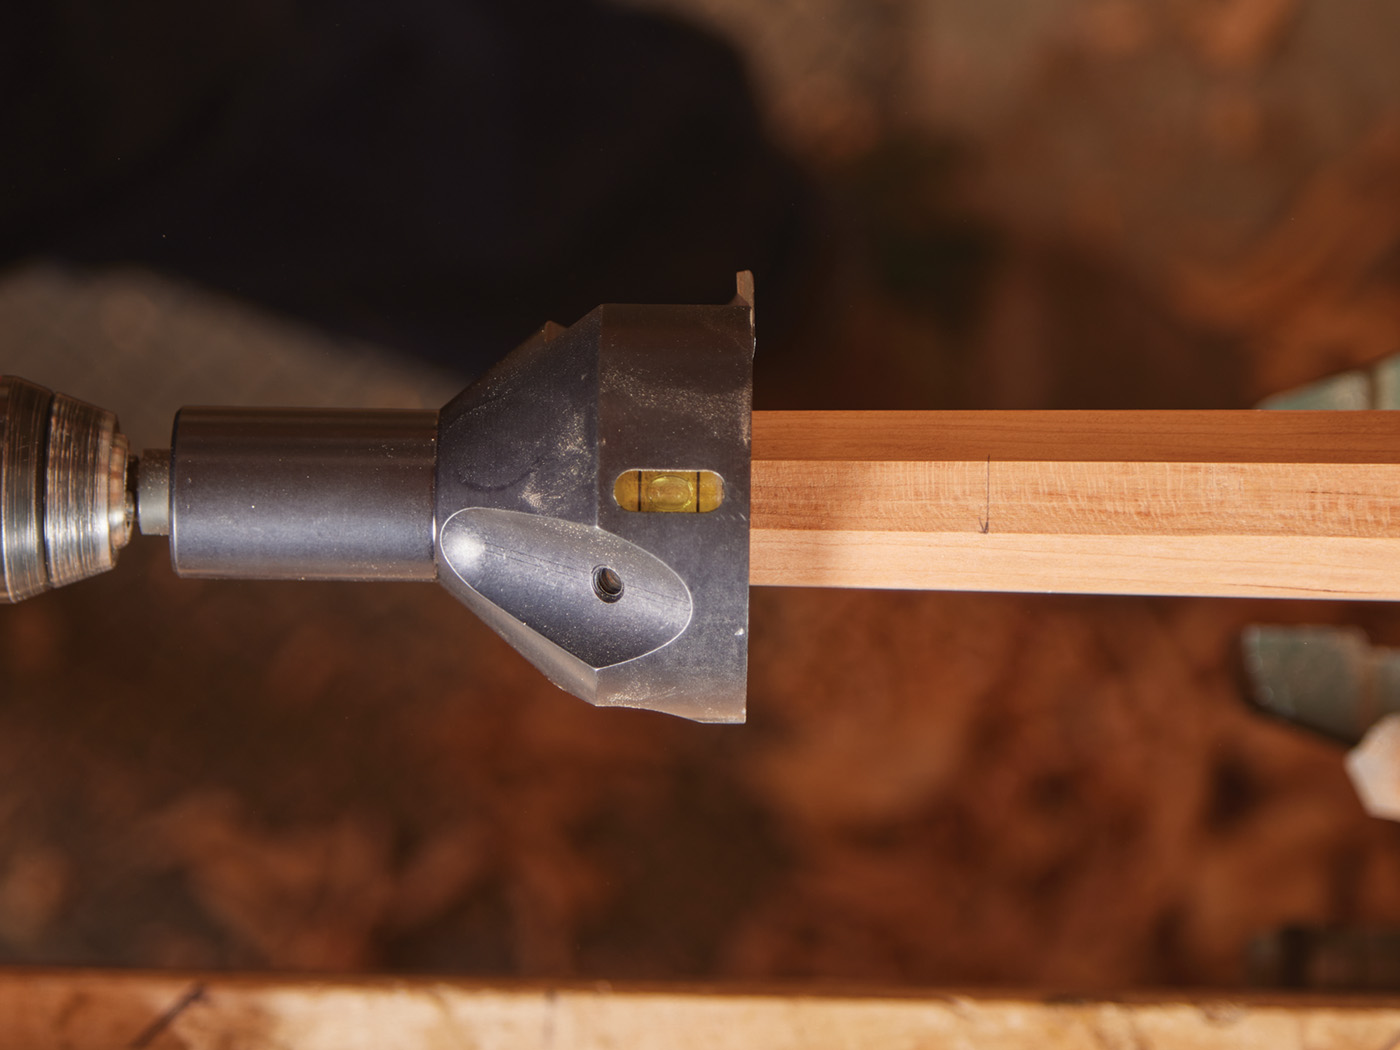
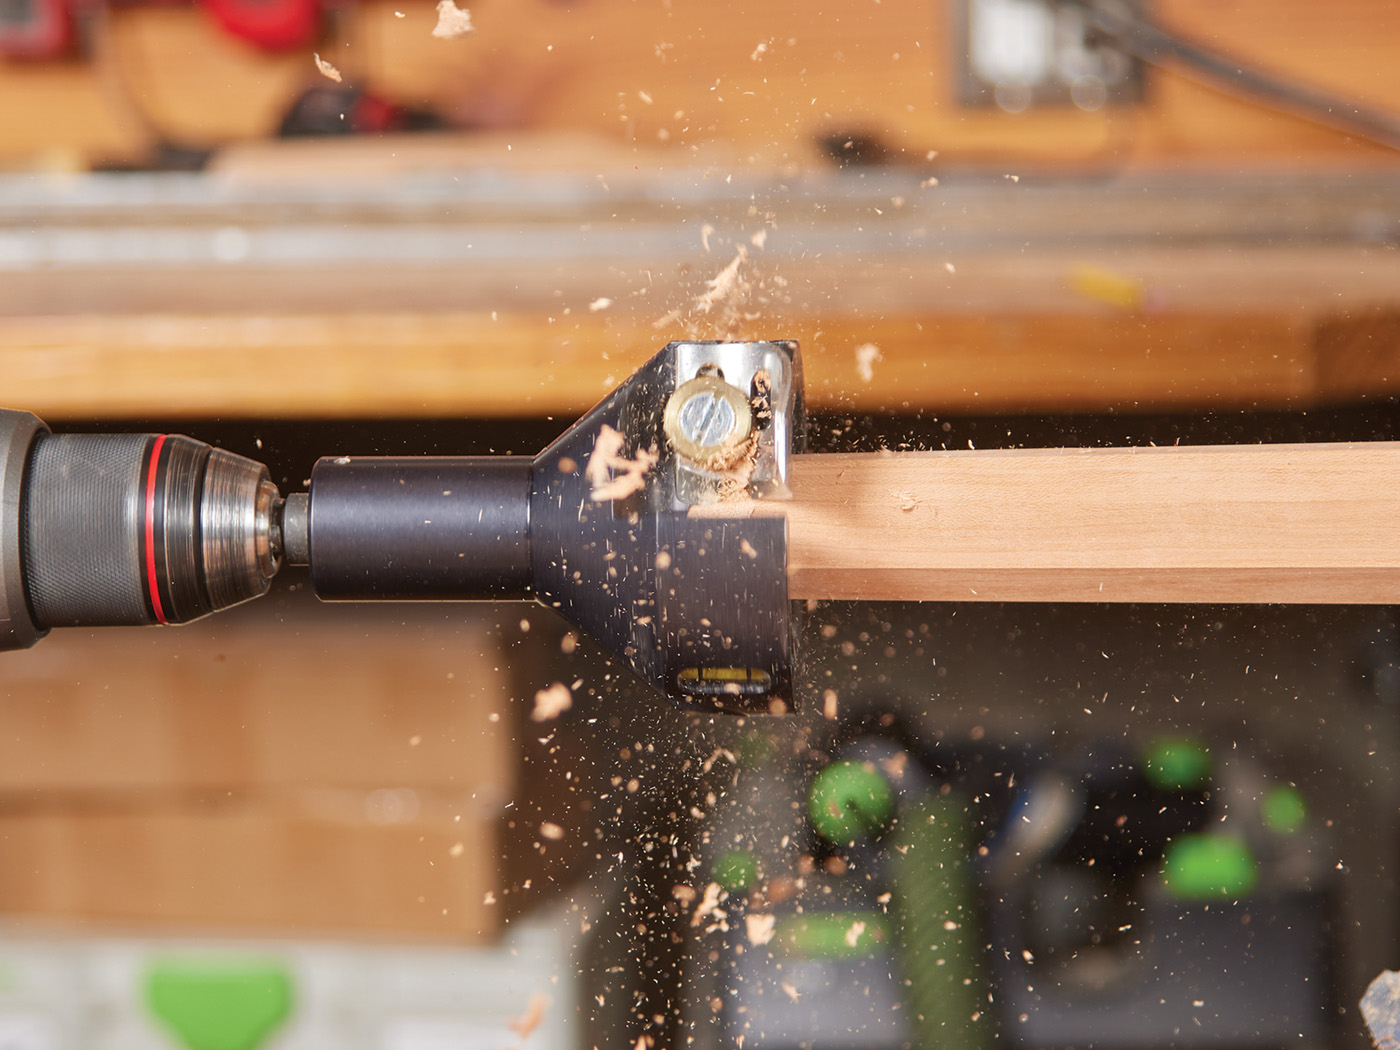
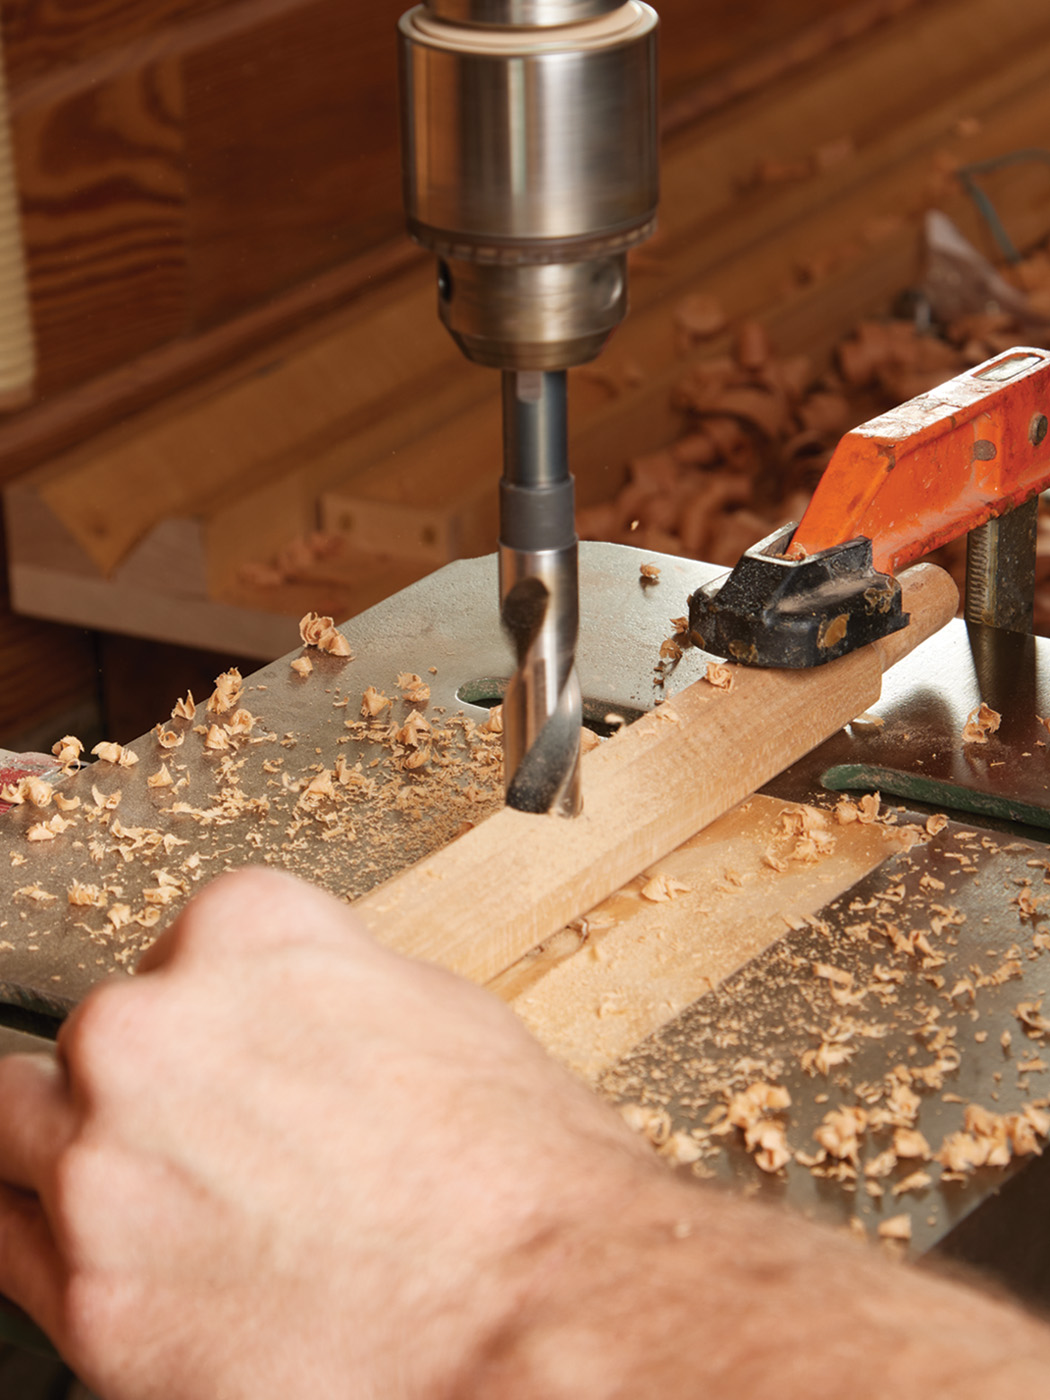
Form 1-inch tenons at the leg tops using a Veritas 1-inch power tenon cutter or by turning on a lathe between centers. Clamp each leg horizontally, ensuring level alignment registered midway along its length due to the taper. Mark 2-1/8 inches from the small end for tenon length. The cutter’s integral level maintains centering as you advance it inline with the leg grain.
Practice on scrap wood first to master the tenon cutter’s operation and achieve consistent results before committing to your legs.
Leg It Up
Assemble a dry fit by inserting the three legs into the seat mortises. Accurate straight tenons create an exceptionally tight fit; to avoid sticking, compress the tenons beforehand. This fiber compression preserves joint integrity and allows glue-swollen expansion during final assembly.
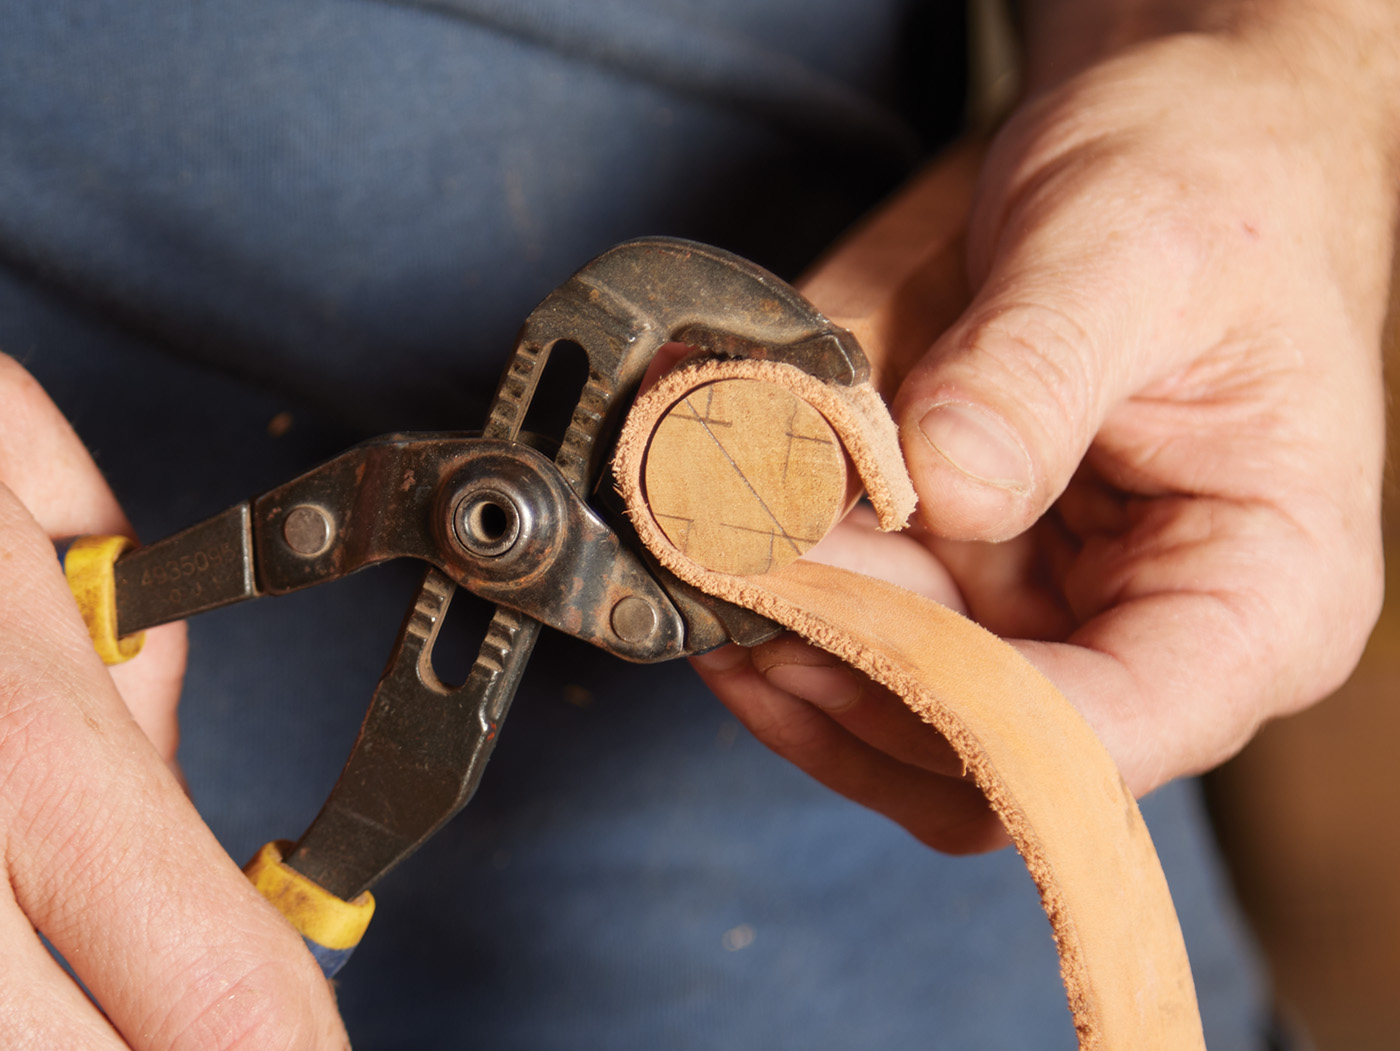
Compress using channel-lock pliers padded with leather scraps, squeezing firmly around all sides. This facilitates smooth insertion and removal during fitting.
With legs seated firmly, rotate each so the tenon end grain aligns parallel with the seat’s grain, optimizing glue adhesion. Mark wedge kerfs perpendicular to the seat grain to prevent splitting upon wedge expansion. Apply the same technique later for stretchers.
Saw wedge kerfs deeply enough to allow wedges to penetrate about two-thirds through the seat thickness. For snug fits, craft wedges as long as the kerf depth plus 1/4 inch, with 3/16 inch thickness at the wide end.
Time for Stretchers
With legs dry-fitted and seat wedge kerfs prepared, invert the assembly on the bench. Elevate the seat with 1-inch thick strips to clear tenons from the surface, then clamp securely.
Process stretcher blanks per the cutlist: mark and plane octagons at ends mirroring the leg method, creating straight octagonal sections.
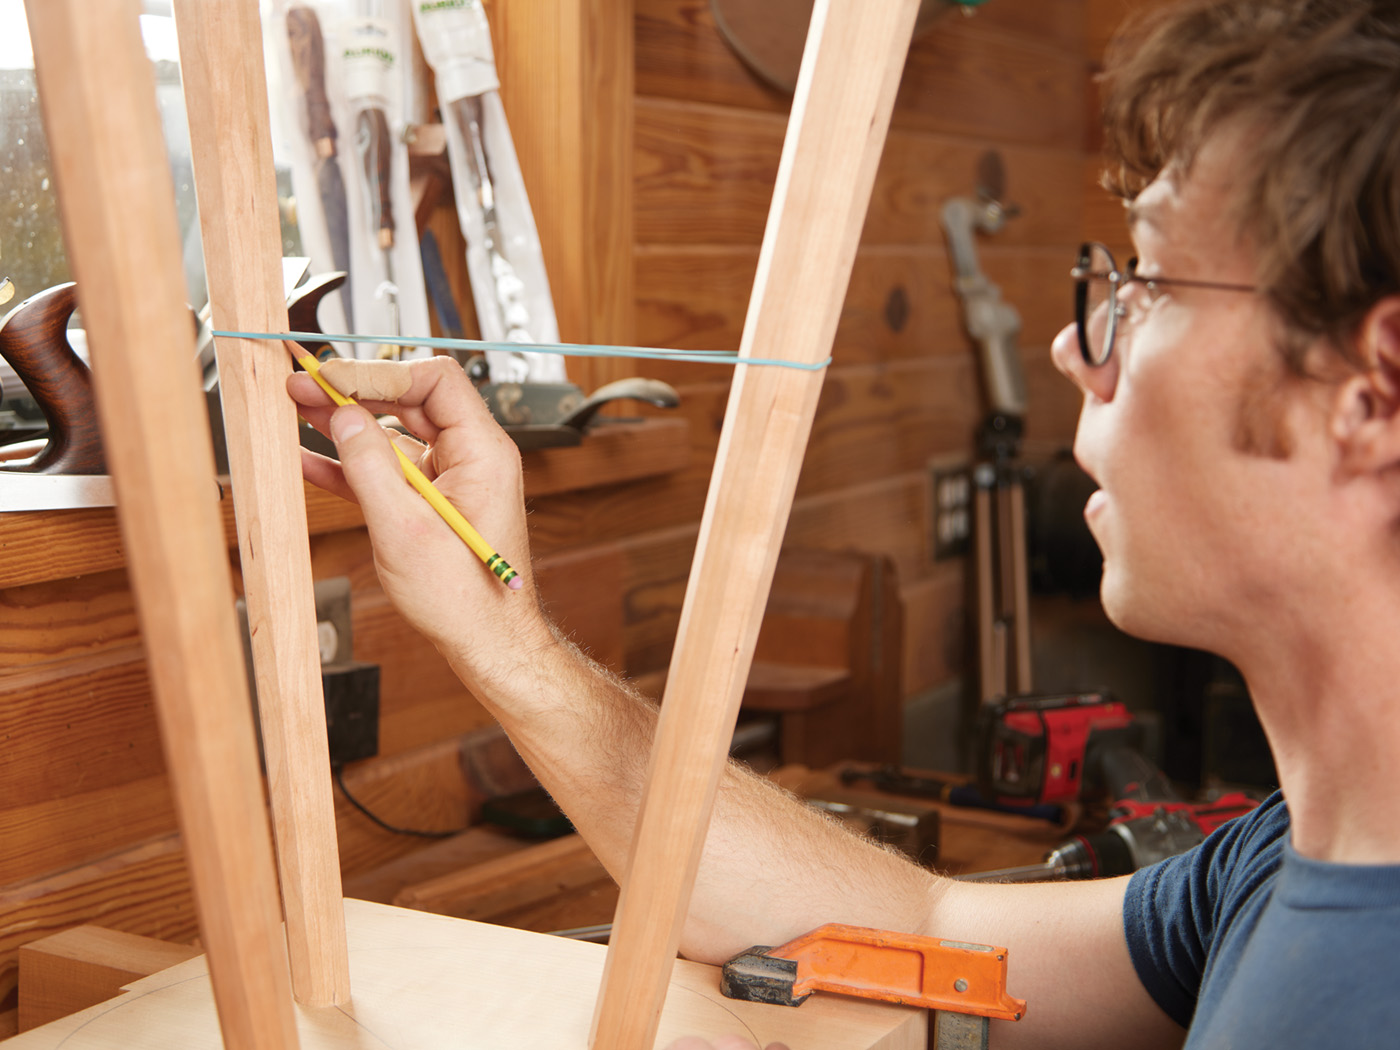
Position mortises centrally on leg octagon facets by slightly rotating two legs to oppose facets. Measure 12 inches downward from the seat underside, penciling ticks on facing facets. Stretch a rubber band taut between ticks to visually center the mortise location.
Clamp a scrap across legs as a guide for drilling. Employ a 5/8-inch brad-point bit on extension, positioning so the bit center aligns at 12 inches from the seat (accounting for bit radius). Reverse-drill slowly to score the entry face, minimizing tearout. For exit-side protection, clamp a backer block. Minor tearout planes away easily pre-assembly.
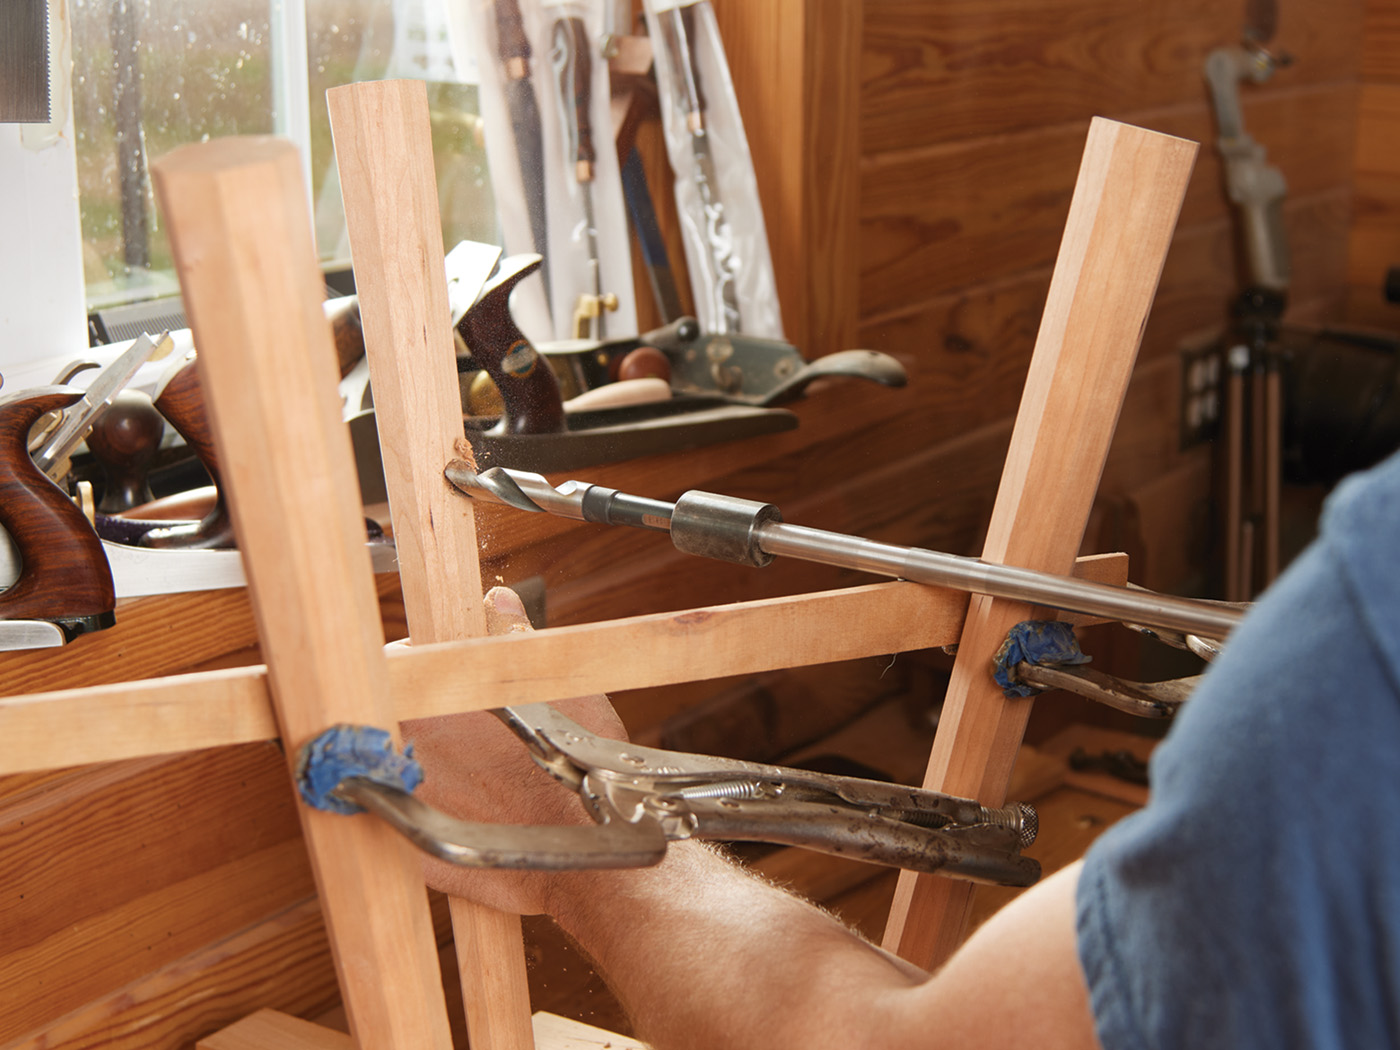
Pass the bit extension through the first mortise to drill its opposite. Measure between these paired mortises to determine stretcher length and tenon dimensions. Cut 5/8-inch tenons using a power cutter or lathe, compress as before, and dry-fit. Rotate for grain alignment, mark wedge kerfs, and note center for intersecting mortise.
Saw kerfs and bore the 5/8-inch center mortise. Reassemble. Use this mortise to guide drilling into the third leg. Repeat for the second stretcher. Dry-fit the full structure to verify squareness. Taper stretchers now with plane or spokeshave if desired.

Final Assembly
Sand or card-scrape all surfaces smooth prior to glue-up. Choose a slow-setting adhesive like hide glue or Titebond Extend for ample working time.
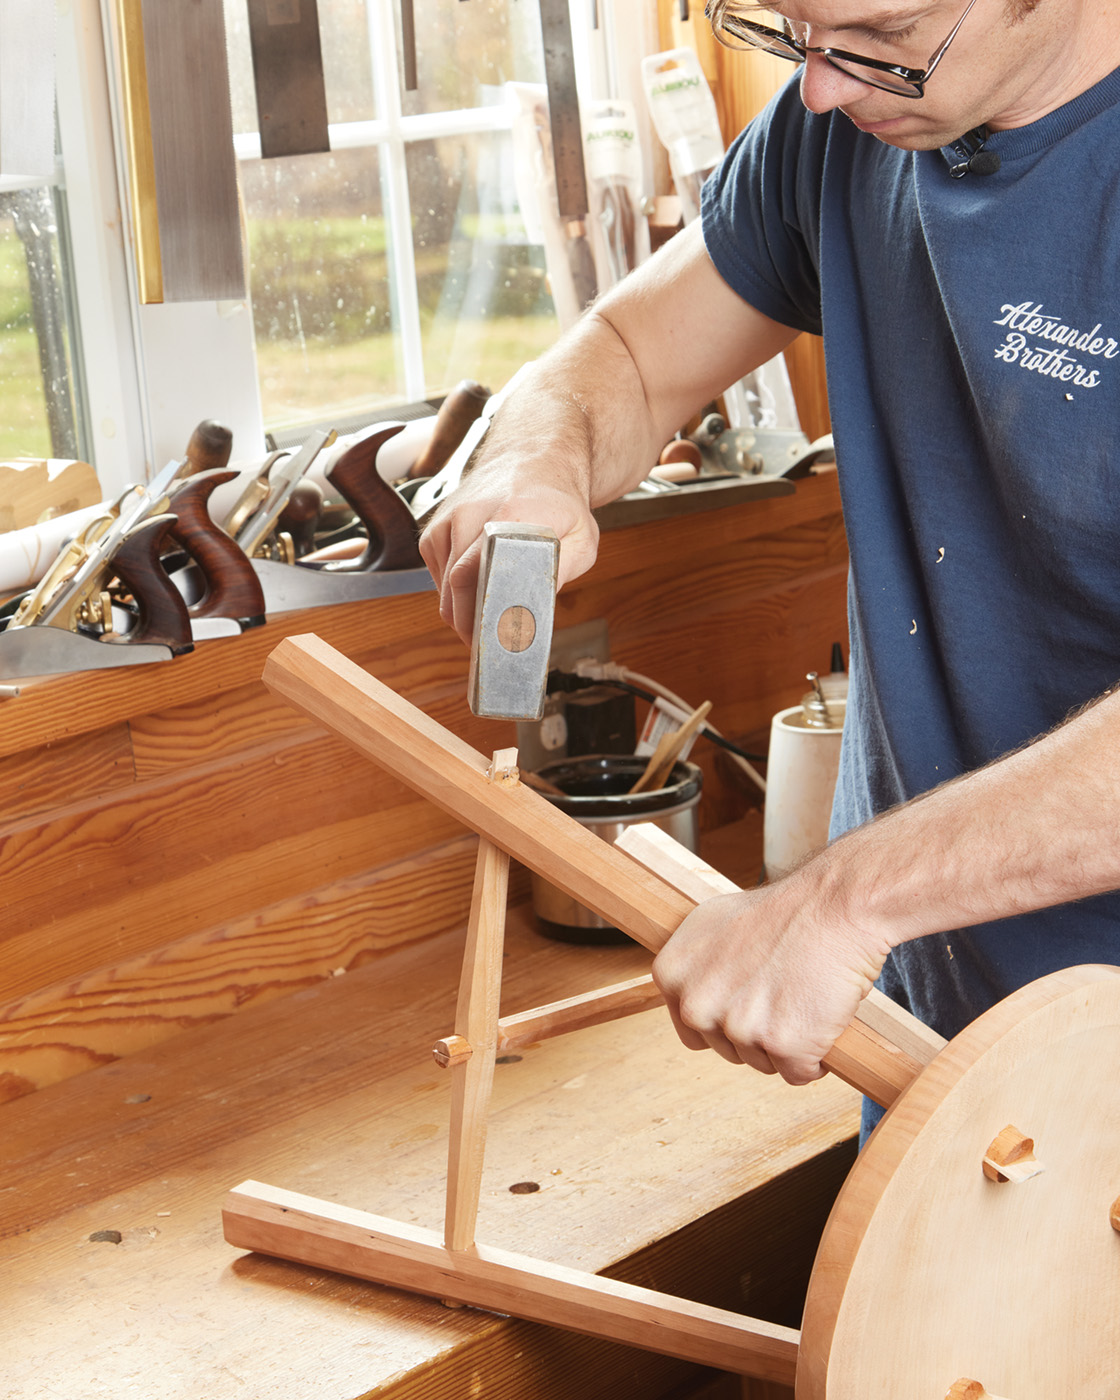
Glue stretchers into a T-configuration first, then attach to legs. Insert this subassembly into the seat mortises. Drive legs home, wedging with glued wedges upon hearing the seating sound. Gently tap center stretcher wedges to avoid damage.
Trim and Level
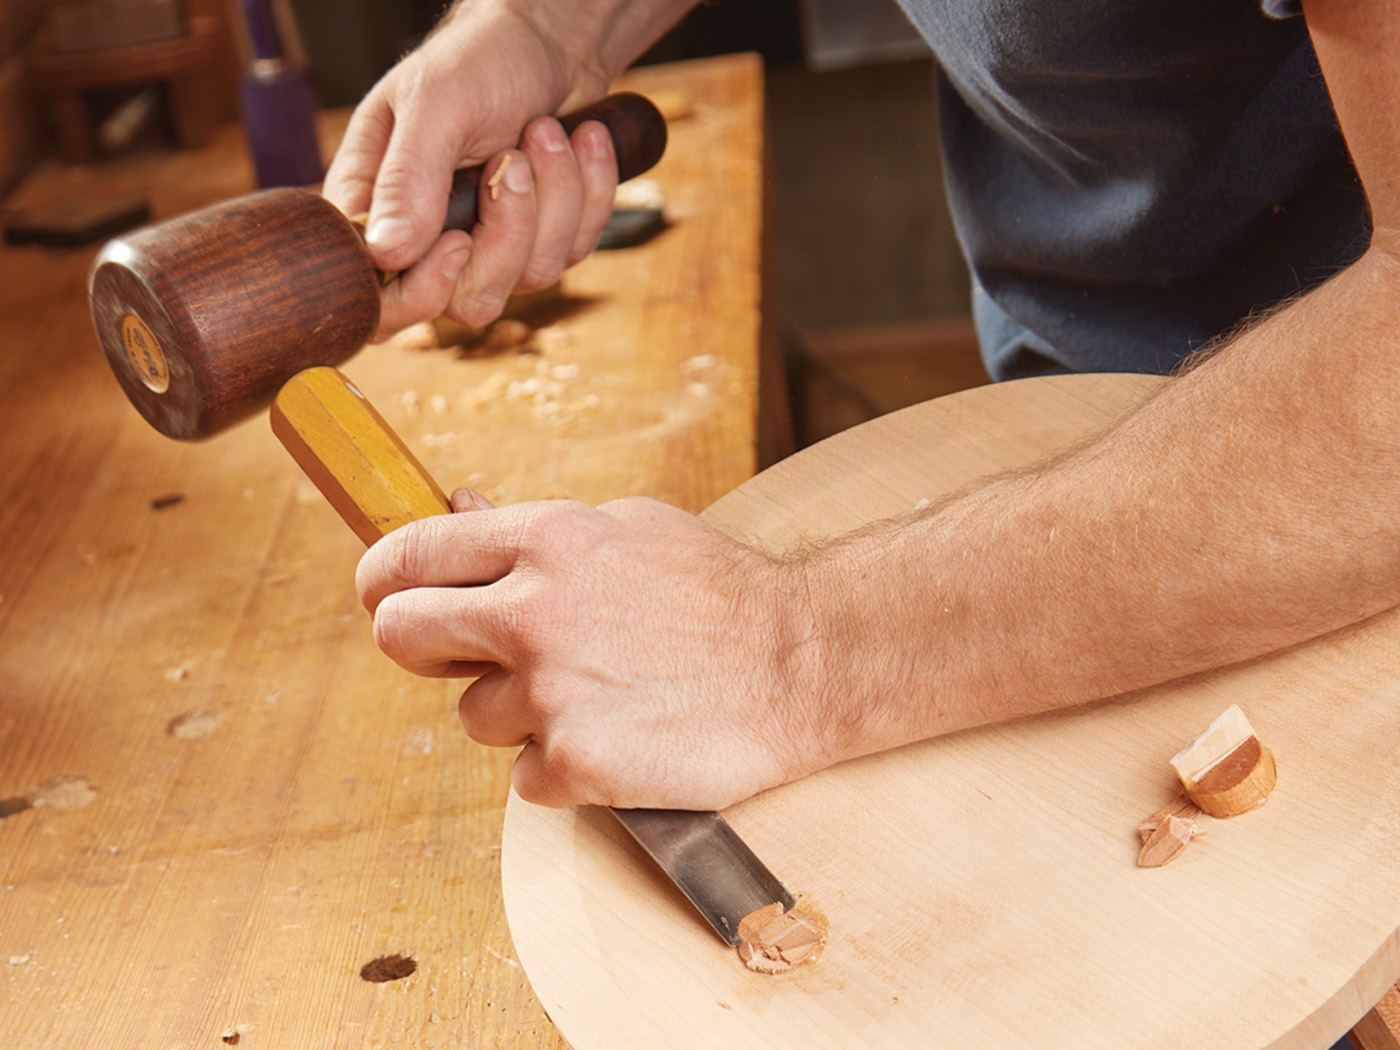
Post-glue drying, trim protruding tenons. A shallow gouge excels inside the seat dish; saw stretcher tenons flush.
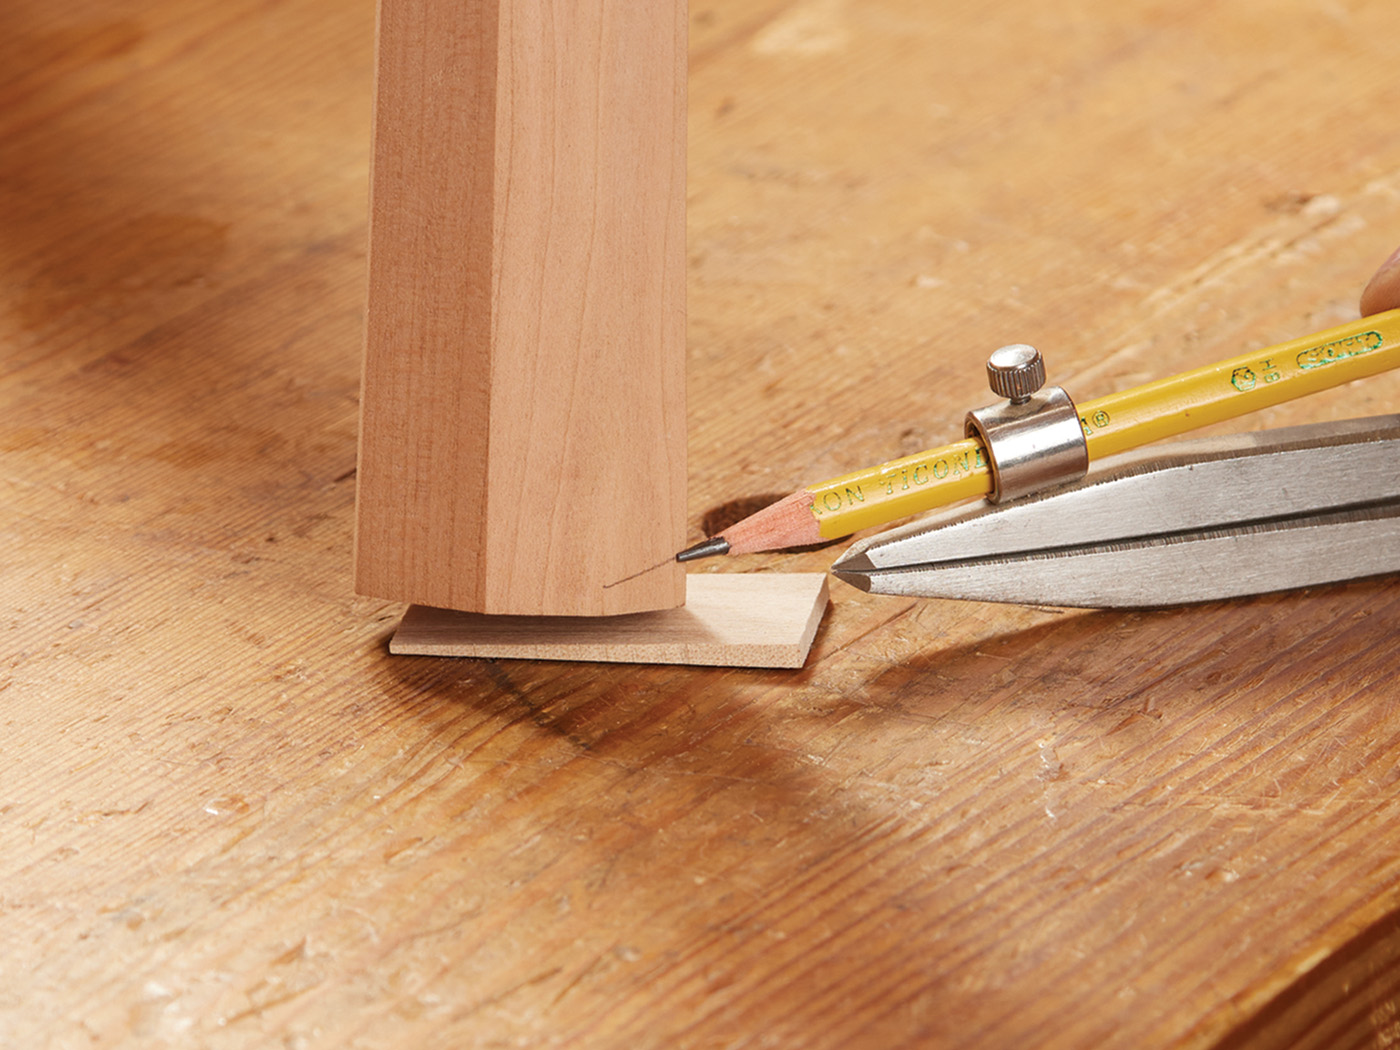
Level by placing a level on the seat, shimming legs with wedges. Scribe leg bottoms relative to the benchtop using a marking block.
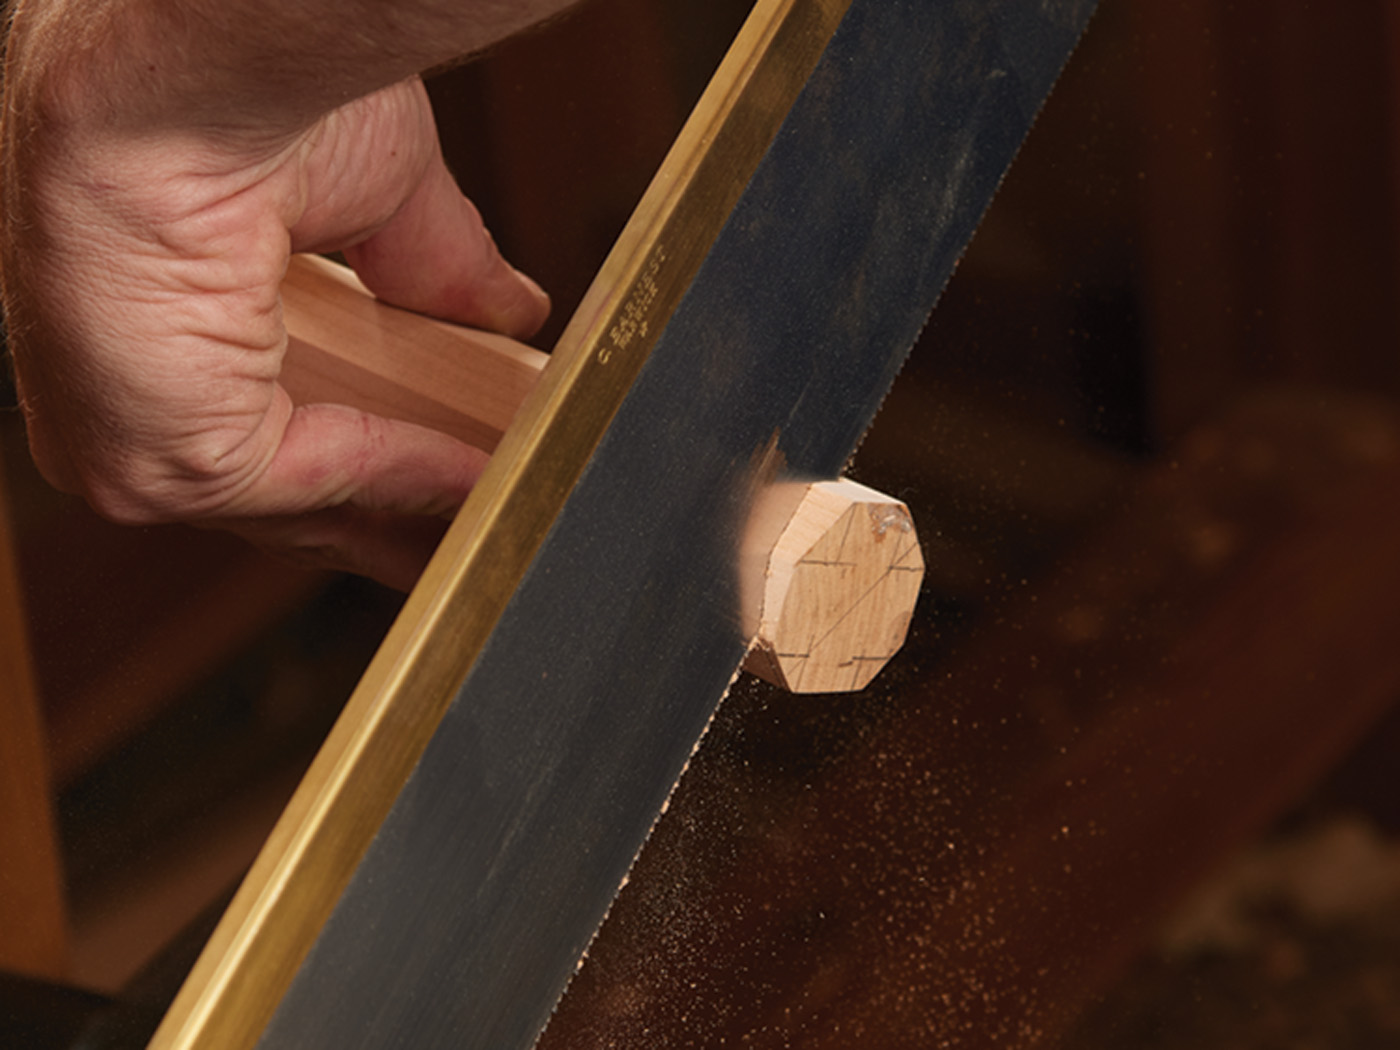
Saw to scribe lines, followed by final sanding and application of your chosen finish. This completes the hearth stool, ready for practical use beside the fire or in any cozy setting. The design’s simplicity belies its robustness, making it a rewarding project that builds confidence in traditional joinery techniques. Variations in wood selection and subtle shaping allow personalization while maintaining structural integrity. Regular maintenance, such as occasional oiling, ensures longevity for generations.